How to Apply Wallpaper for a Spectacular Look!
How to Apply Wallpaper for a Spectacular Look!
Wallpaper is an inexpensive way to give your home a fresh new look. But what if you've never hung wallpaper before? This article will walk you through the necessary steps for applying wallpaper, from getting all the tools and materials needed, to cleaning your walls and preparing them for a perfect application of your new decor. With these wallpapering tips in hand, it's easy to apply wallpaper on any surface!
Ultimate Guide for hanging wallpaper
Step 1: Choose the right wallpaper for your space
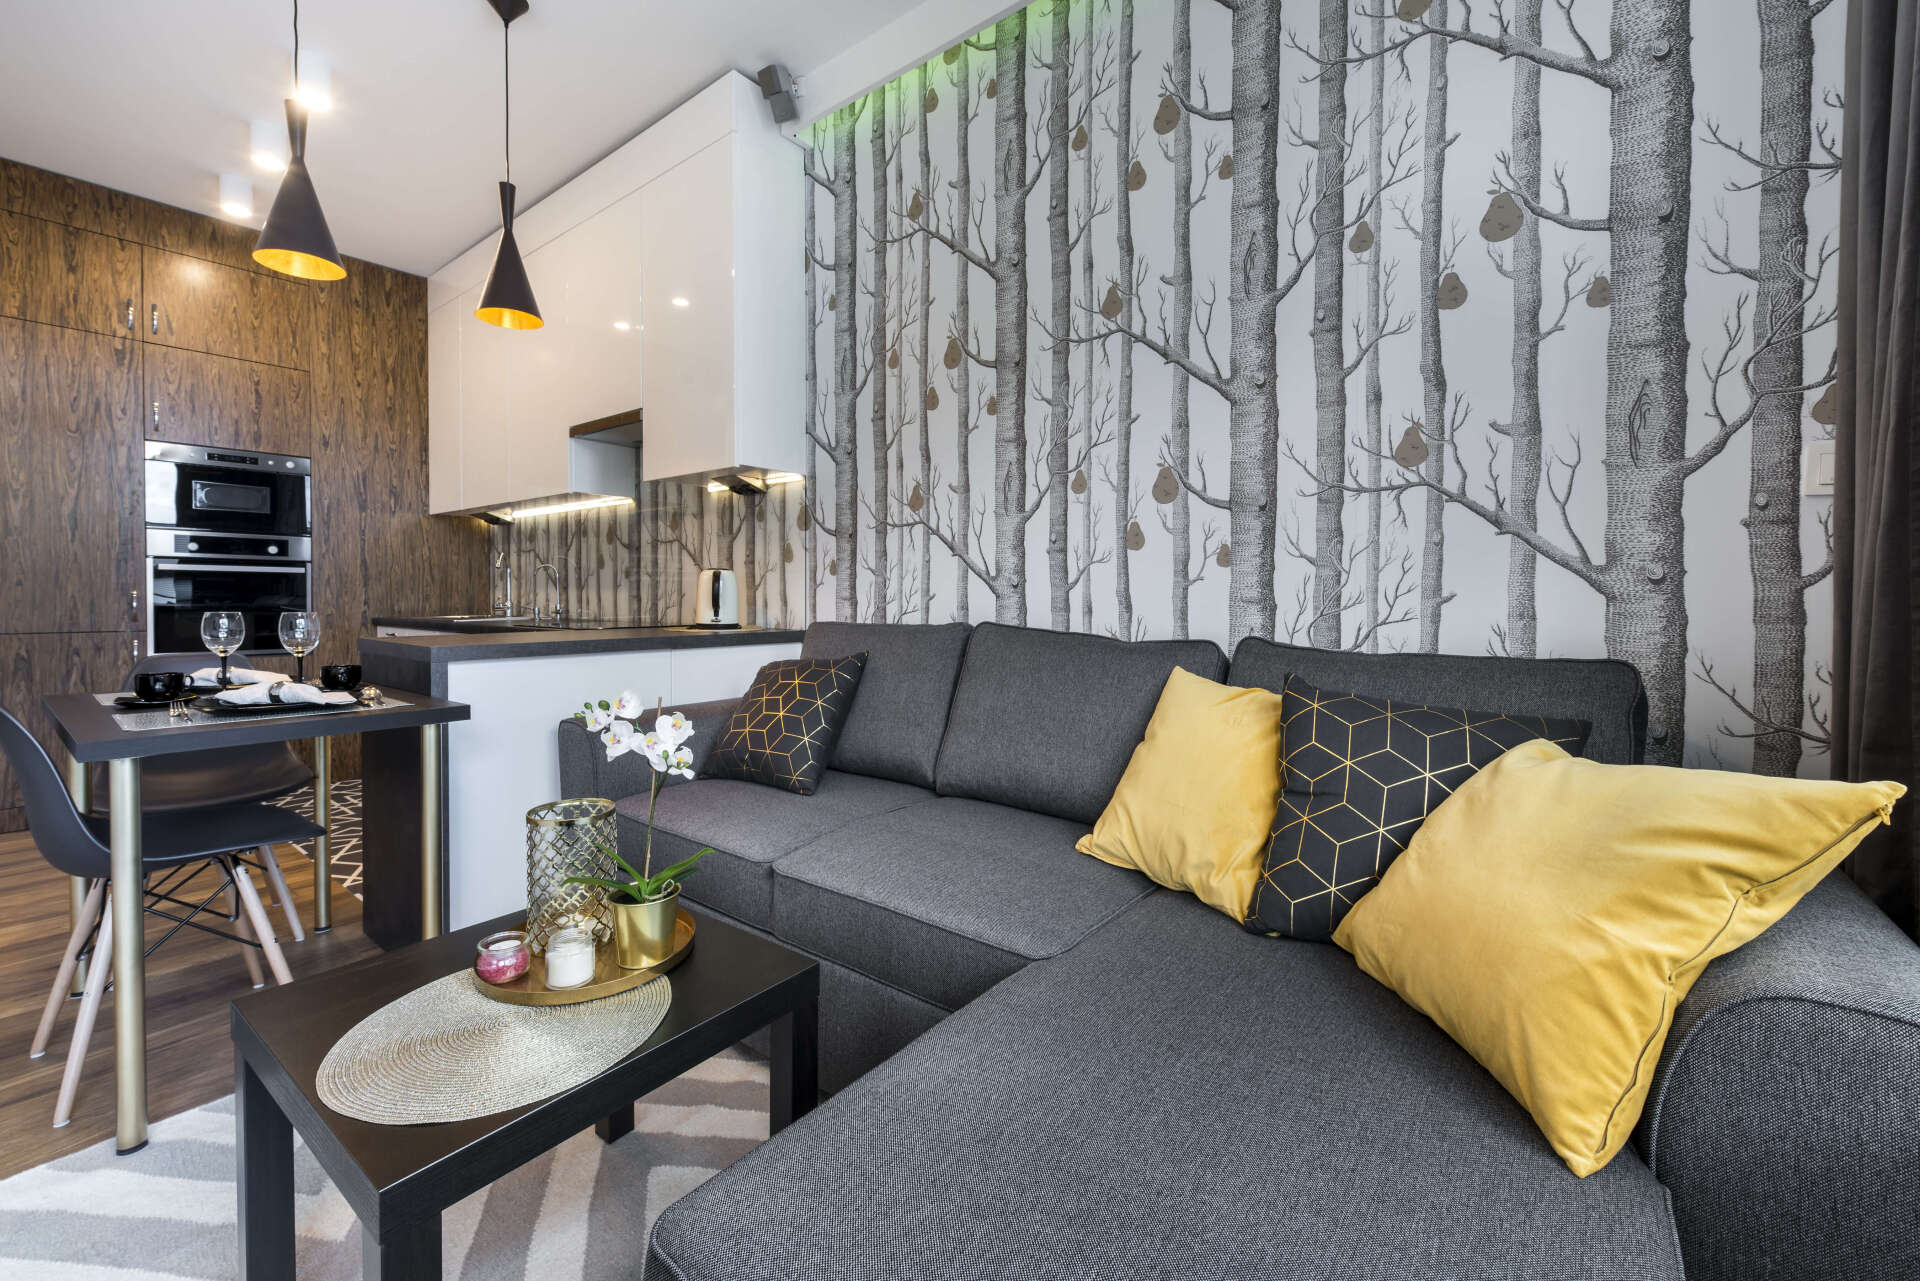
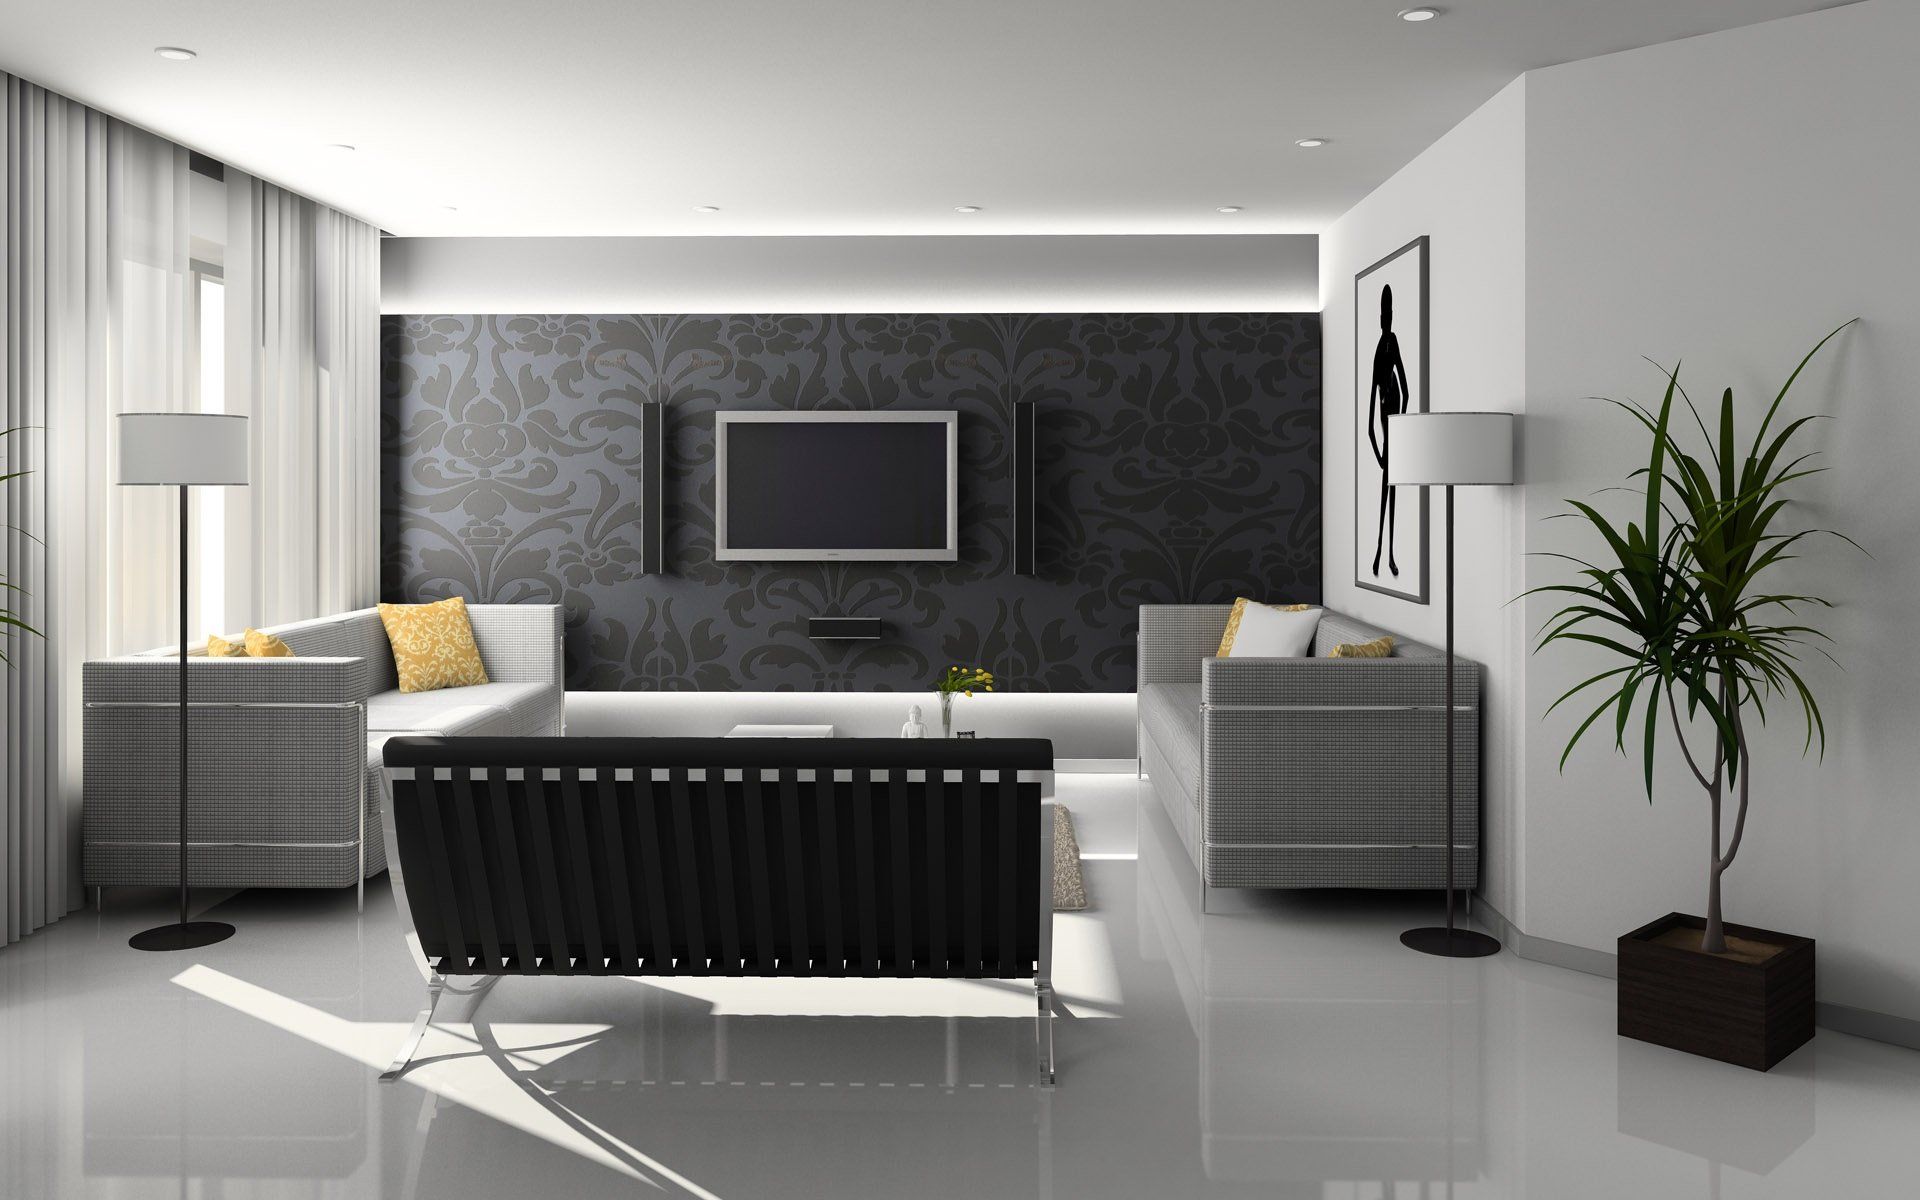
There are various types of wallpaper, from textured to highly embellished. Choose the right type of wallpaper for your space based on its aesthetic qualities and durability.
Here are some things to consider when choosing the texture of your wall covering:
- Do you want a vintage heritage look, or do you want something more modern?
- How often will the room be used? Is there a lot of commotion, such as children and pets?
- What color is the room currently painted? You want to ensure you are matching your wallpaper color to your paint color.
Aside from texture, you also need to choose the pattern. Here are some tips for picking out wallpaper patterns:
- Choose a pattern that fits your style of decorating. Are you going for a classic look, or are you looking for something more modern?
- You might want to pick out a wallpaper with a small pattern so that the overall effect isn't too busy. This is especially important if the room has small dimensions and will be visually cluttered with large patterns adorning the walls.
- Your wallpaper should flow with the rest of your room, so make sure it doesn't stick out too much. For example, if you have a busy tiled floor, don't pick something with a complicated pattern - choose something that is simple and won't be too dominant within the overall space. You could opt for geometric patterns that are simple and complementary to the room.
Step 2: Prep the walls and remove any old wallpaper or paint
It is very essential to ensure that you have a clean surface to work with. If the wall has any old wallpaper or paint on it, then you will need to scrape that off. Make sure that all of this old paper is removed before adding the new one, because some of it may be toxic, and some of it might cause mildew in humid conditions. Use an electric paint remover or an adhesive scrapper for this purpose. This is the most critical part of the whole job, so treat it with care and do not be in a hurry when doing this.
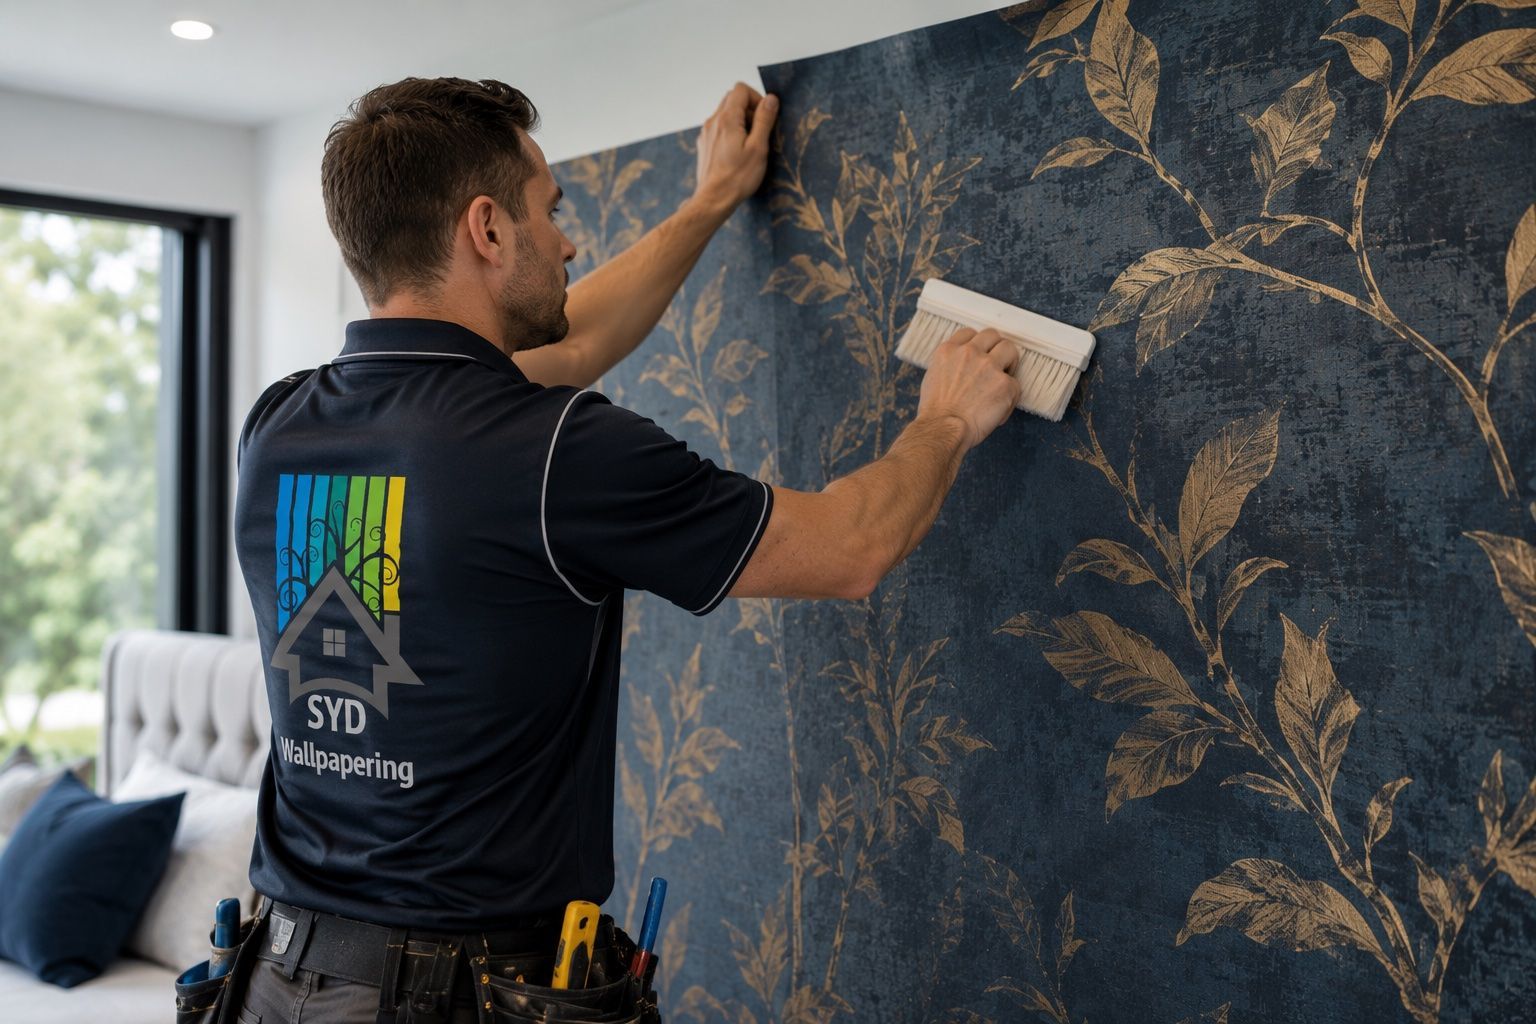
The process of wallpaper removal might be complicated and you may damage the surface if not careful. You can also hire a professional to do this for you, which might be the best solution, especially if the wallpaper is very old and stubbornly stuck to the wall. At SYD Wallpapering , we offer a complete service from removal to re-hanging for those who desire professional results.
Call SYD Wallpapering for help with wallpaper installation and design, as well as any other home decorating services you might require! We provide professional advice on colors and patterns, as well as fast and efficient installation.
Step 3: Tape measure and cut the wall paper to fit your space
Once you selected the wallpaper type and design , you need to get the right size for your space. Look at some photos of potential patterns on Pinterest or Houzz, and take measurements of the space you are decorating. If there are any irregularities in the walls, such as bumps or nooks, make sure that these are taken into consideration when determining the wallpaper sizing. One of the best tip is to start by drawing a plumb line to the top of the wall, and then a second line parallel to that, marking where you want your first row of pattern.
After measuring out your wall, you need to cut the wallpaper. You can use a sharp pair of household scissors for this purpose. We recommend that you wear gloves and protective eyewear when cutting your wallpaper as these tools may cause injury if mishandled.
It is also necessary to measure out your walls and take careful note of any irregularities such as bumps or nooks, as well as nail holes. This step need to be done property as it will save time and material, as well as ensure your wallpaper is cut to the proper size.
Step 4: Apply wallpaper adhesive to the back of the wallpaper and then hang wallpaper to the wall
Before installing wallpaper and joining wallpaper strips together, you need to add the adhesive. There are a few ways to go about doing this:
- You can use a rubber roller or paint roller to apply the adhesive on the back of the paper. This is the quickest and simplest method, but might create some drips of glue and bubbles in your final product, especially if you are working with a smaller wallpaper.
- Another option is to use a paint tray and brush to apply the adhesive on the back of the paper, which will give you more control over exactly where you place it. If there are any bubbles or other irregularities in your finished product, then this might be the best solution.
To apply the adhesive, you need to make sure that the wall is clean and dry. Dab some glue on an area of about 2 square feet, starting from one side of the room and working your way around the perimeter toward the other end. Make sure that there are no bubbles or folds in your wallpaper as it goes onto the wall - this can add an extra step in the process, and might add bumps to your final product.
Once this is done, you can begin to attach your wallpaper. Start from one end of the room and work towards the adjacent wall by firmly pressing it onto the wall. Make sure that there are no bubbles or folds in the paper as it is applied - this can add an extra step in the process and might create bumps or creases in your final product. The first strip is usually the most difficult to attach, but you'll find it gets easier as you go.
After this step is complete, it is important to make sure that you let the adhesive dry before you do anything else! If it is still wet, then you can leave some dust on the paper which will cause problems with adhesion. It is necessary to keep the wallpaper on the wall for at least 48 hours to make sure it is completely dry.
Step 5: Use straight edge of the wallpaper brush to smooth out any wrinkles or air bubbles in the paper
In order to ensure the wallpaper installation is flawless, you need to get rid of any wrinkles or bubbles in the paper. You can do this using a wallpaper smoother (also known as a "wallpaper leveller"). Simply slide the straight edge up and down over your wall to smooth out any bumps or creases in the paper. It's also a good idea to hold the edge at a 90-degree angle to the entire wall so that you can get rid of any bubbles in the paper.
If there are excess paper and wallpaper paste on the wall at this point, you can use a blade scraper or a damp sponge to remove these. Simply stick the blade of the scraper into the grooves of your wallpaper and then pull it toward you, removing any excess paper or glue from the wall.
##Step 6: Add a coat of sealant to protect your new wallpaper from moisture and dirt
Compared with traditional painting, wall paper is more fragile and needs to be protected from soil and stains. We recommend that you add a coat of sealant to your wall as soon as possible after applying the wallpaper, but before the adhesive dries. Using a "sealer" is very simple: just paint it onto the wall with a brush and let it dry for about half an hour. After this, you can apply another coat of sealant.
Conclusion
Now that you know how to install wallpaper like a pro, it's time to get started on your next home decor and wallpaper project! Wallpaper can add some extra flair and personality to any room in your house, and with these tips, you're sure to have a flawless installation. We recommend using a sealant after applying the wallpaper to protect it from moisture and dirt - just make sure you let the adhesive dry before doing so. Have fun with your new look, and be sure to show us pictures of the final product!
You might also like
SYD Wallpapering Blog