How to Wallpaper Curved or Uneven Surfaces: A Step-by-Step Guide
Wallpapering a smooth, flat wall is one thing; tackling a curved or uneven surface is a distinct challenge. But with the proper technique, materials, and patience, you can achieve a flawless finish that transforms awkward spaces into stunning features. Whether you're working on a curved stairwell, an arched alcove, or a textured wall, this guide will walk you through the process in seven professional steps.
Let’s break it down:

Step 1: Inspect and Prep the Surface
Before applying any wallpaper, assess the surface.
- Check for deep dents, holes, or significant unevenness. Curves are delicate, but major imperfections can affect the finish.
- Fill any cracks or holes with a quality filler and allow them to dry thoroughly.
- Lightly sand down rough patches using fine-grit sandpaper to reduce extreme unevenness.
- Clean the wall using a damp sponge or mild soap solution to remove dust, dirt, or grease, which can stop the adhesive from bonding properly.
Proper prep is essential. Think of it like painting, your result will only be as good as the surface underneath.
Step 2: Choose the Right Wallpaper
Not all wallpapers behave the same way, especially when it comes to curves and textures.
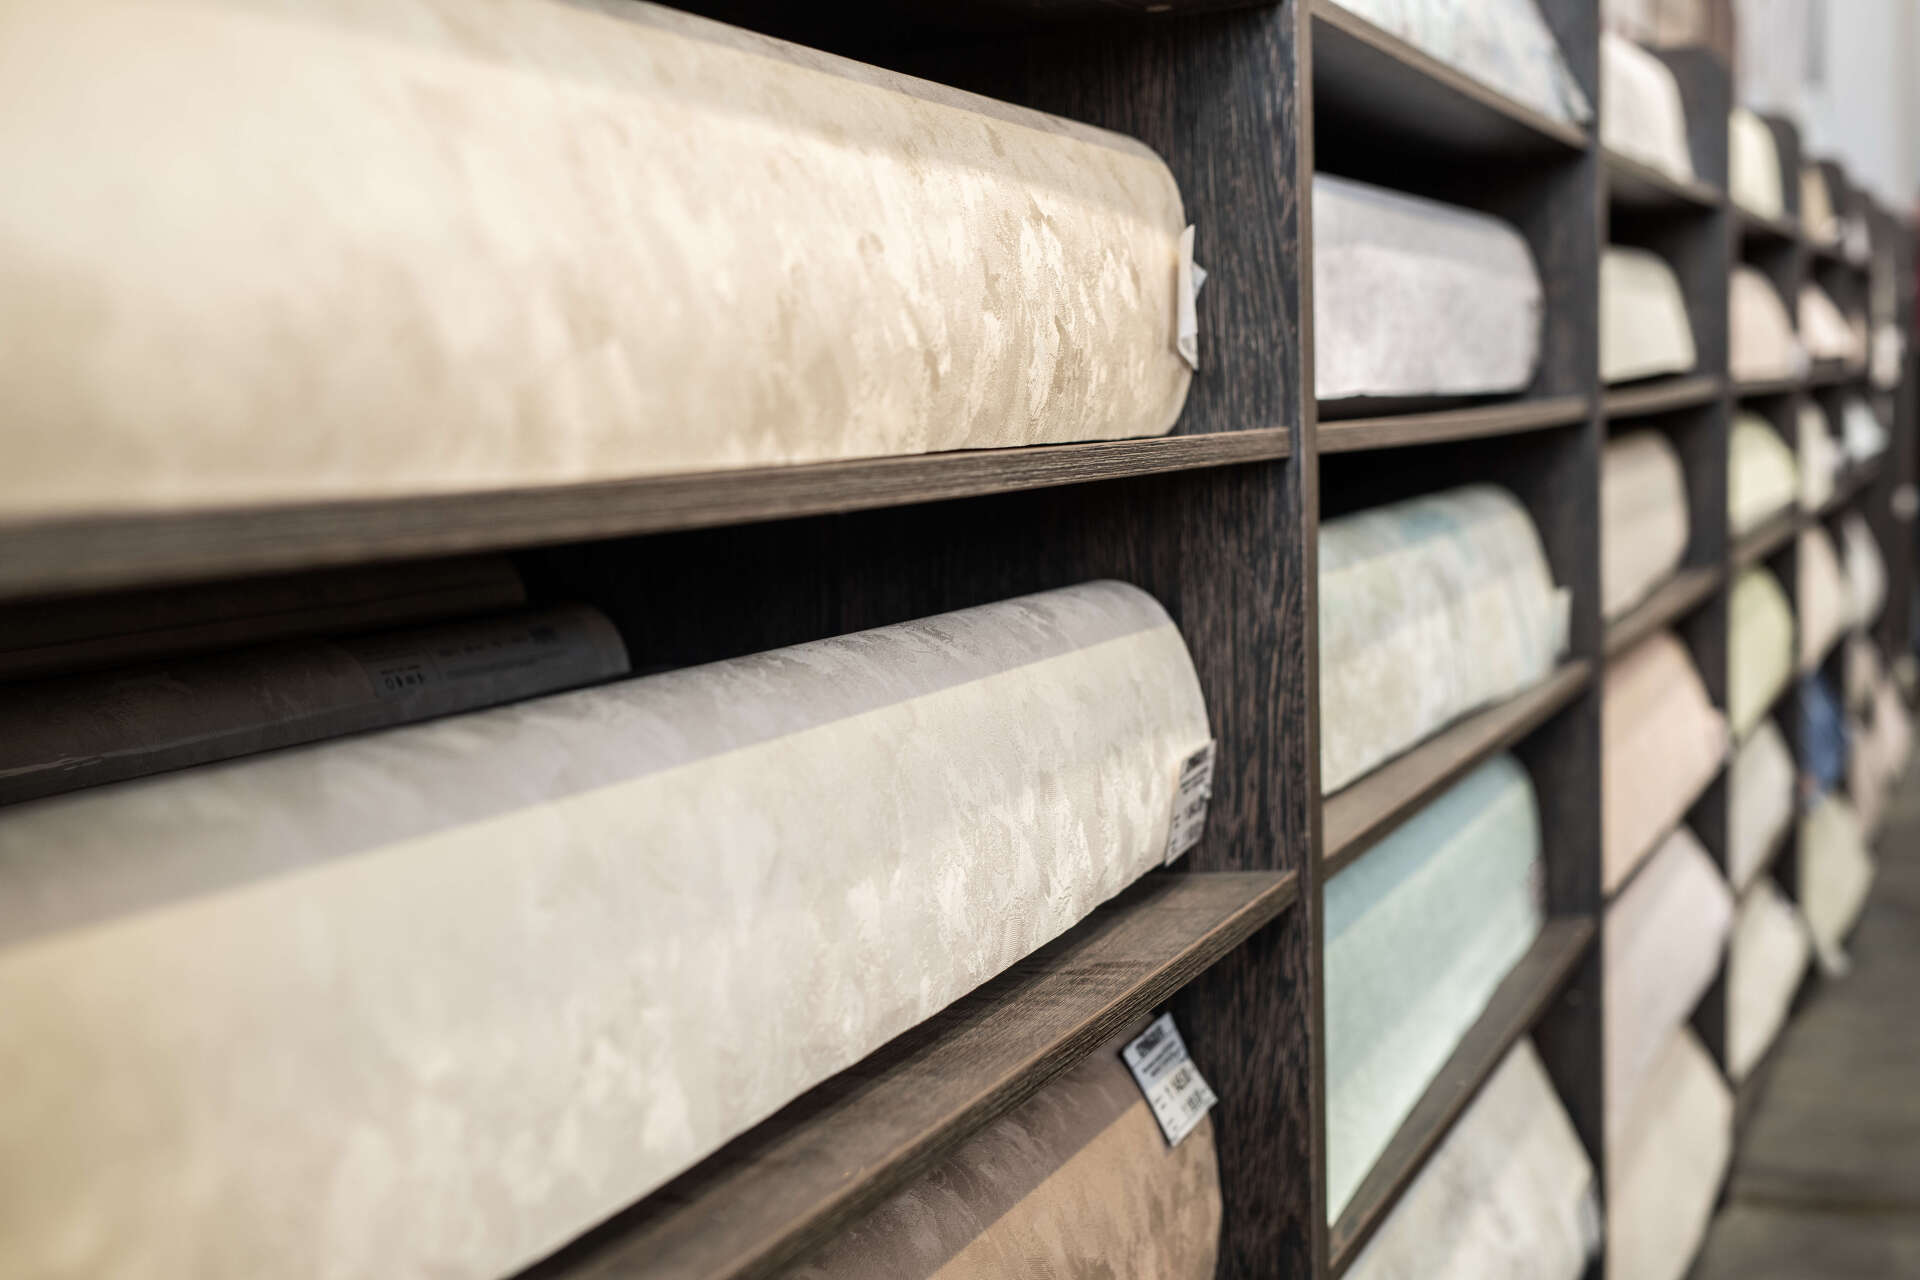
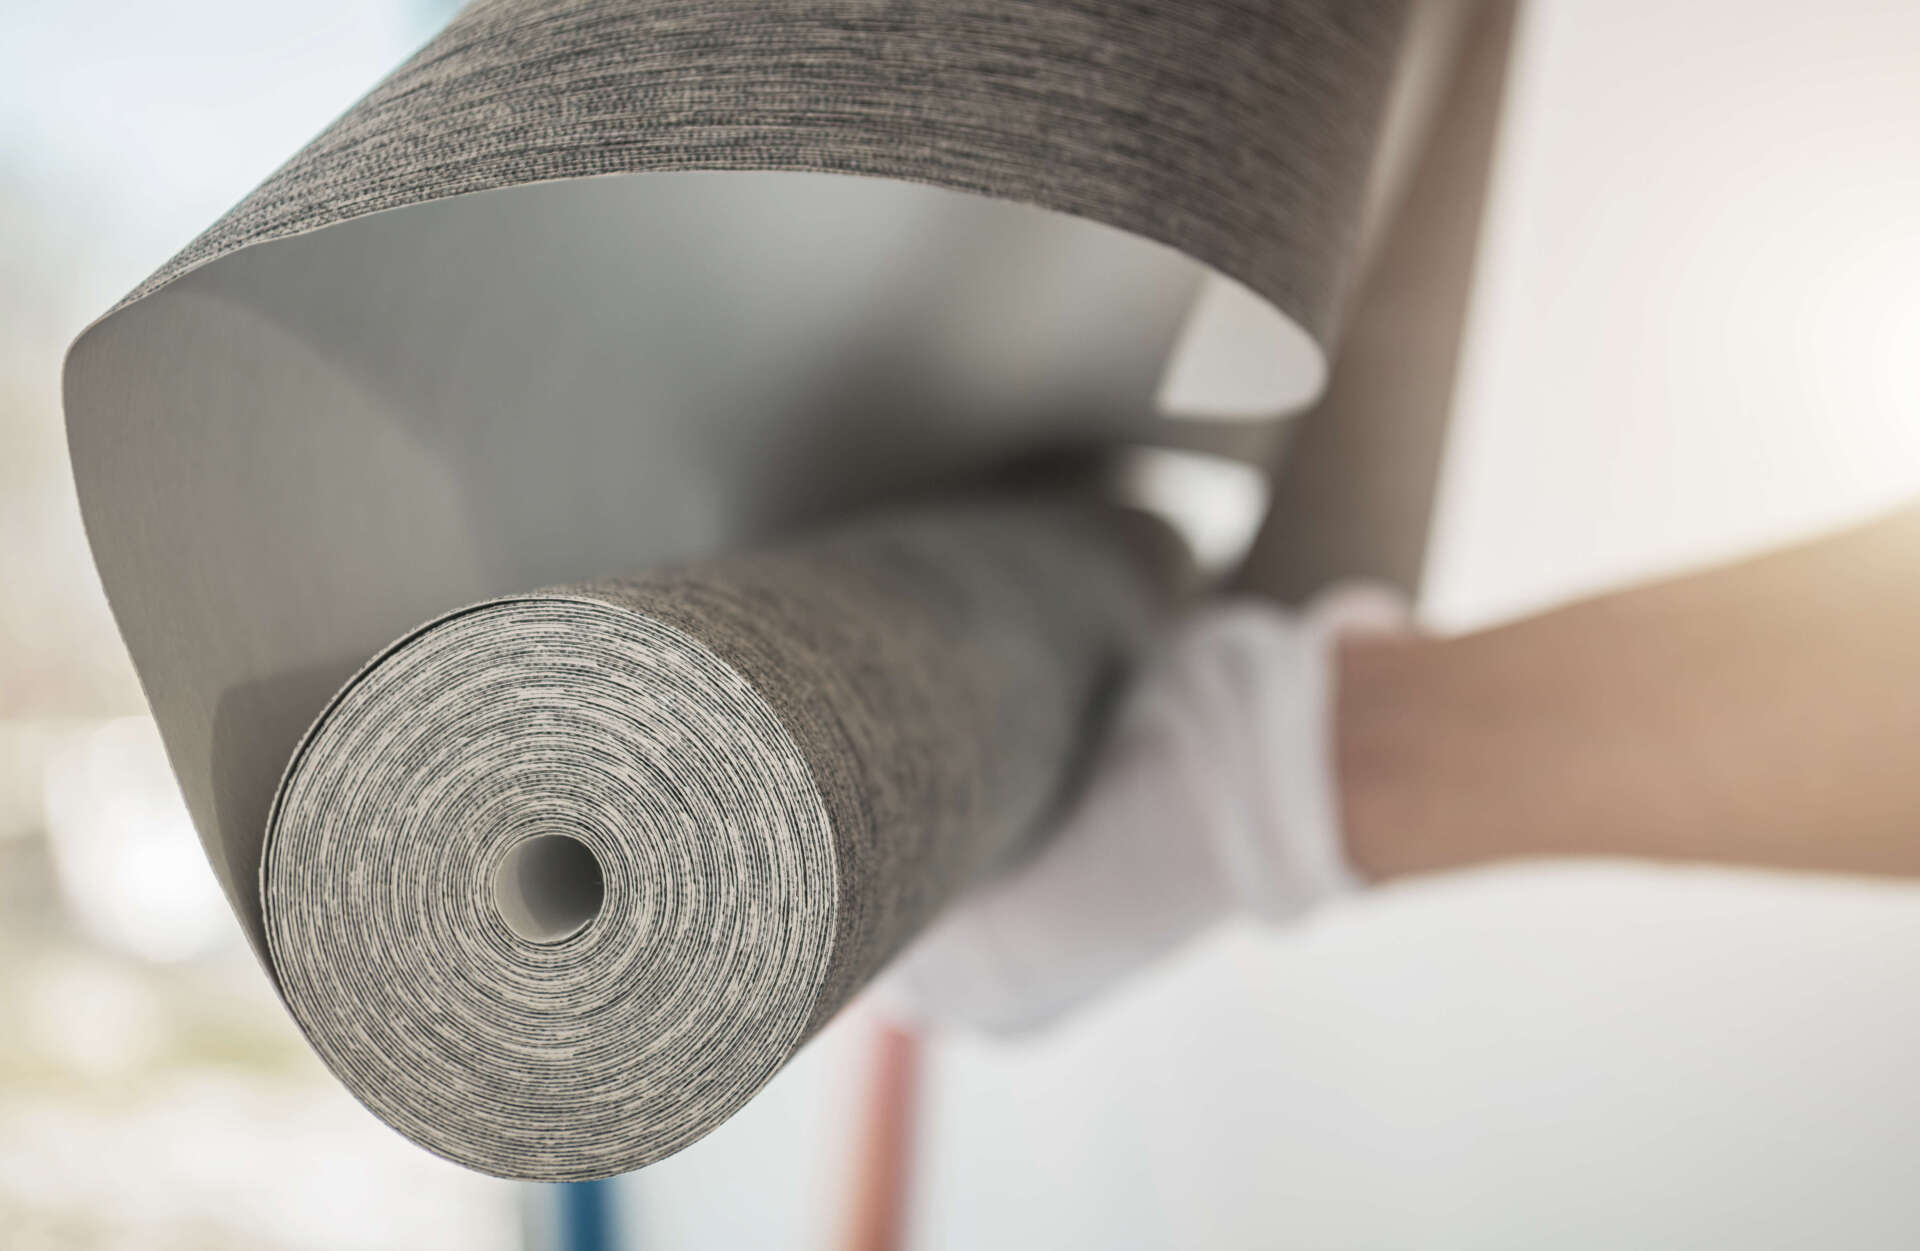
- Choose flexible, high-quality wallpaper, such as vinyl or non-woven types. These are more forgiving and easier to manipulate around awkward areas.
- Avoid heavily textured or thick wallpapers, as they’re difficult to stretch or smooth into place.
- For beginners, peel-and-stick wallpapers are an excellent choice. They can be adjusted during installation and don’t require separate glue.
Also, ensure that you select a pattern that won’t appear distorted on curves. Subtle patterns or plain colours work best in these situations.
Step 3: Measure Twice, Cut Once
Precision is key when dealing with non-flat surfaces.
- Measure the curved section’s height and width carefully. Use a flexible tape to follow the curve's contour.
- Add extra centimetres to the wallpaper length to allow for stretching or trimming—this is especially important for arches or tight bends.
- Pre-cut the wallpaper strips and label them in order, especially if your pattern requires precise alignment.
Having each piece ready before you begin will make the application much smoother.
Step 4: Apply the Right Adhesive (or Primer)
Now it’s time to focus on adhesion, ensuring your wallpaper sticks evenly.
- For traditional wallpaper, use a high-tack adhesive suitable for problem surfaces. Apply it directly to the wall or wallpaper as recommended by the manufacturer.
- For peel-and-stick wallpapers, ensure the surface is dehydrated and free from dust.
- If the wall has an old coat of paint or sealant, consider applying a wallpaper primer first to help the paper bond better.
Proper adhesive selection can be the difference between success and peeling paper within weeks.
Step 5: Start from the Flattest Point and Work Outward
Begin at the flattest section of the curve or wall, and gradually work your way into the more complex areas.
- Align the first strip properly using a spirit level to ensure it’s straight.
- Gently smooth the wallpaper into place using a flexible plastic smoother or sponge, starting from the centre and moving outward.
- For curved areas, stretch the paper slightly as needed while pressing it into place slowly and evenly.
- Avoid over-pulling; it may cause the pattern to tear or distort.
Working gradually with patience will help prevent wrinkles, bubbles, or tearing.
Step 6: Trim and Tuck Carefully
Once the wallpaper is applied, it’s time to tidy it.
- Use a sharp utility knife or snap-blade cutter to trim the edges carefully along ceilings, skirting boards, or archways.
- For tight corners or curves, use small scissors or a craft knife for more precise cutting.
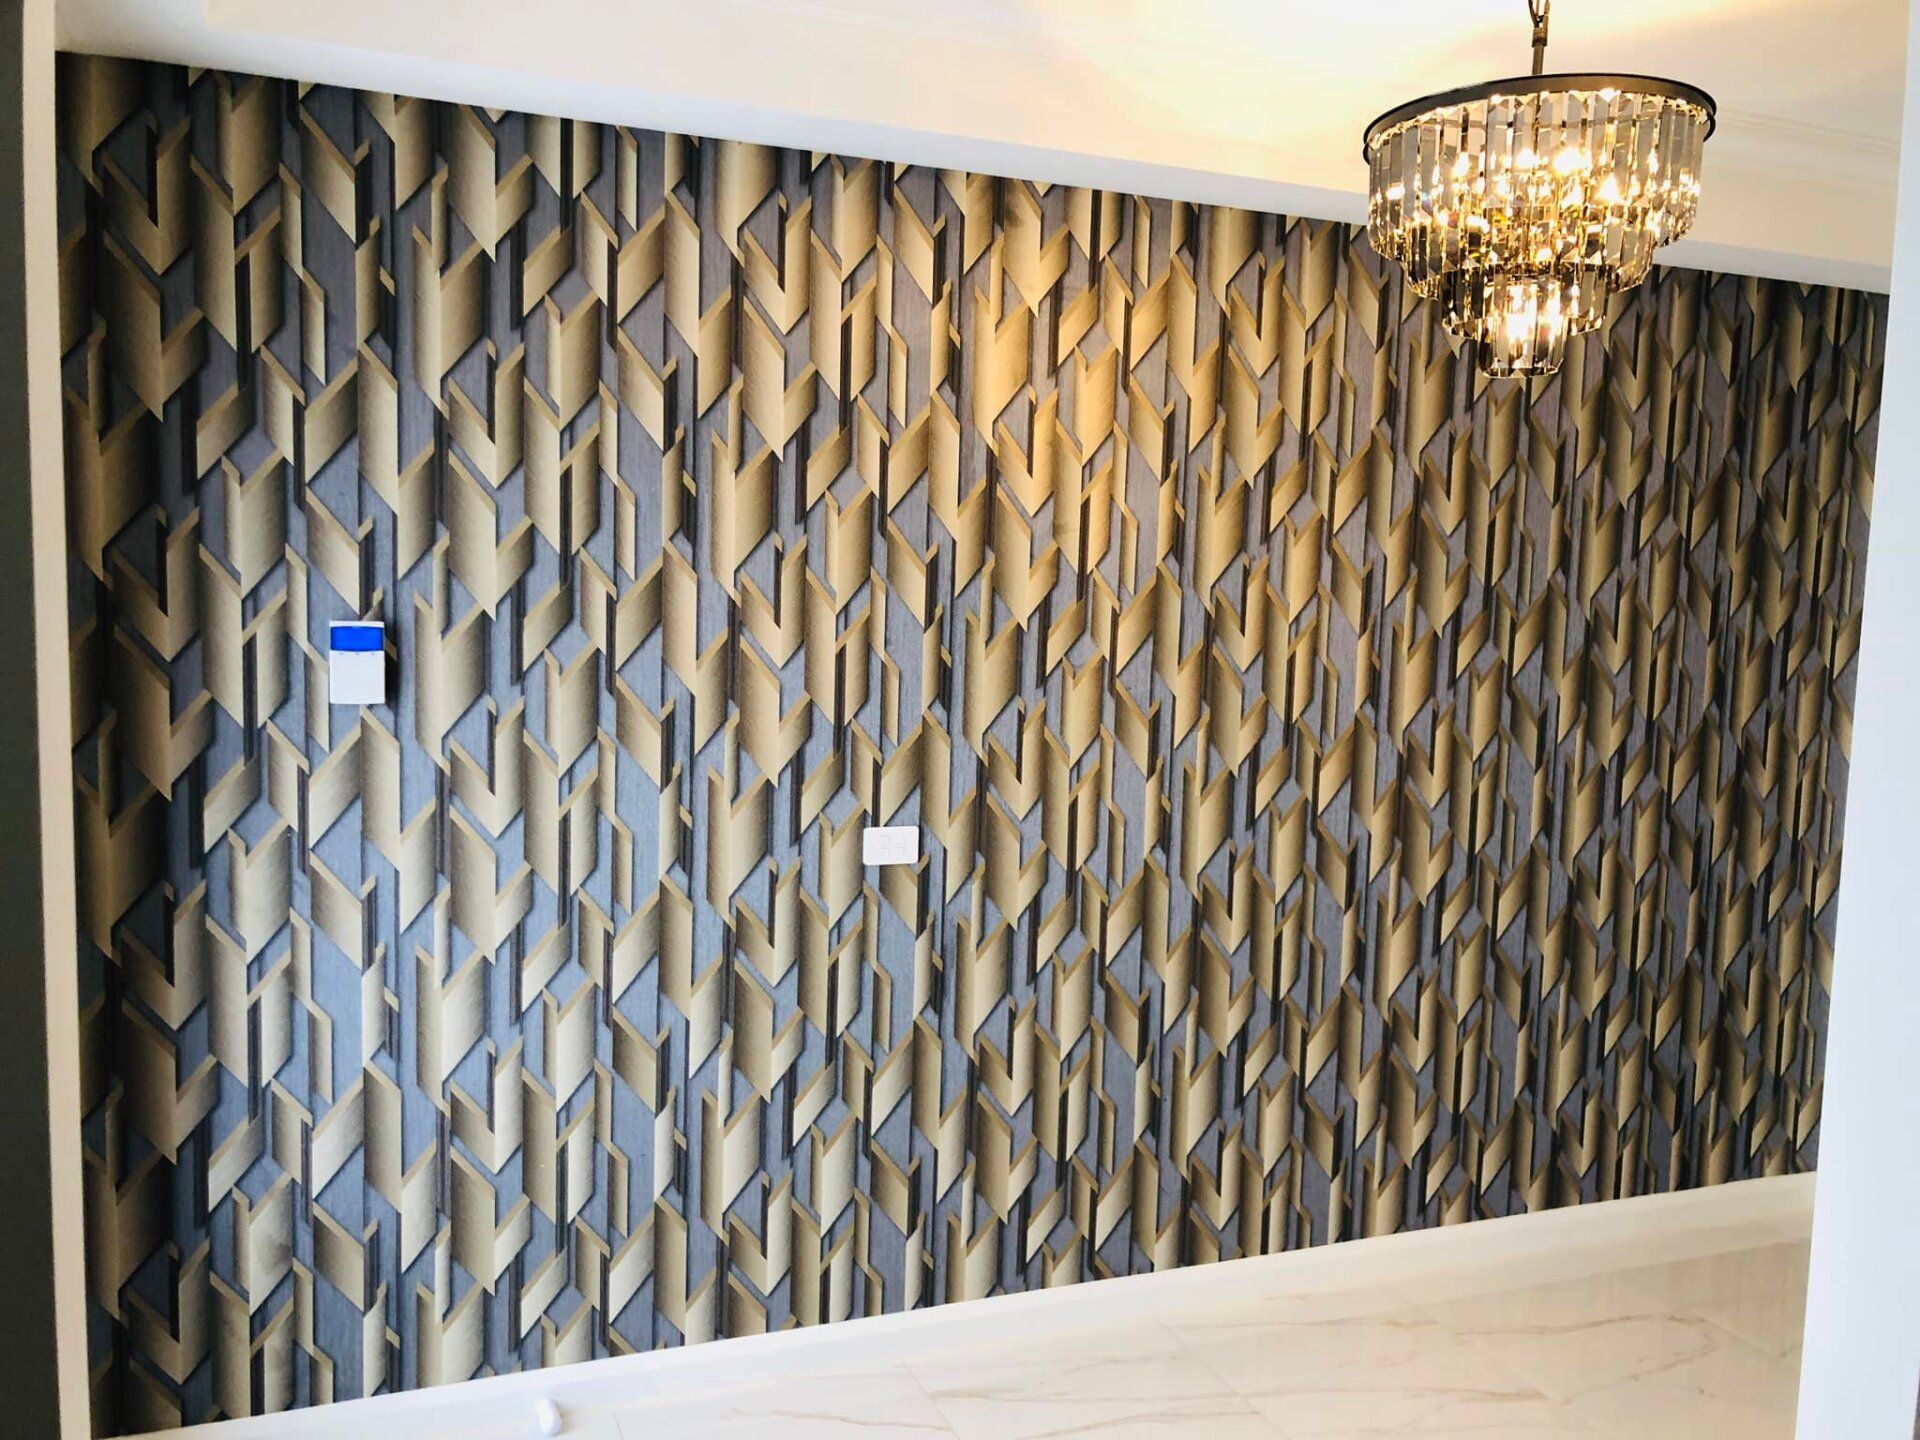
- When applying wallpaper around sockets or switches, always turn off the power, remove the covers, and cut the wallpaper slightly beyond the edge to ensure complete coverage when it is replaced.
Accuracy and clean cutting will give your wallpaper a polished, professional appearance.
Step 7: Smooth, Seal, and Let Dry
The final stage is to ensure everything is locked in and runs smoothly.
- Recheck all surfaces and gently press down any lifted corners or bubbles.
- Use a soft cloth or roller to press the wallpaper fully into curves and joints.
- For vinyl wallpapers or high-moisture areas, such as bathrooms, apply a clear wallpaper sealant to protect the edges and seams from lifting over time.
- Allow the wallpaper to dry according to the product instructions, typically 24 to 48 hours.
The key to achieving lasting results is allowing the adhesive to cure completely.
Final Thoughts: Make Curved Walls a Feature, Not a Flaw
Wallpapering a curved or uneven surface may feel daunting at first, but with the right tools, prep, and technique, you can achieve a stunning result. These challenging walls often become the most eye-catching features in the room, adding depth, texture, and character to the space.
Considering an upgrade to your interior with wallpaper, but unsure where to start?
Trust SYD Wallpaper to get it right the first time. Whether it’s an arched wall, a staircase bend, or a textured nook, contact a wallpaper installation expert near you for flawless, stress-free results that last.
You might also like
SYD Wallpapering Blog


