How to Prepare Your Walls for a Flawless Wallpaper Installation
If you're looking to refresh your interior space with stunning wallpaper, proper wall preparation is key to achieving professional, long-lasting results. At SYD Wallpapering, we’ve worked on wallpaper installation projects in Dee Why and throughout New South Wales, and we know that even the highest quality wallpaper can fail if the walls aren’t prepped correctly.
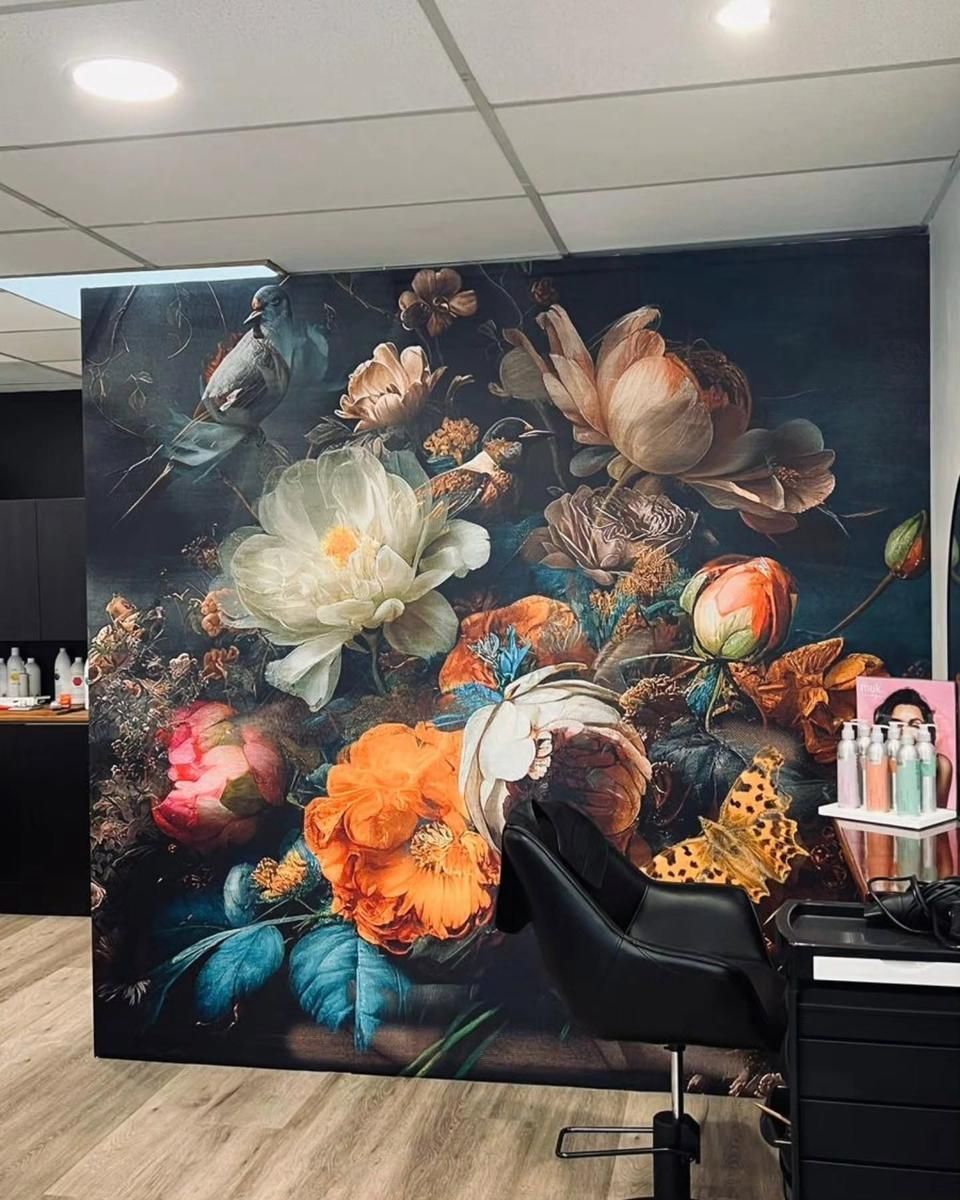
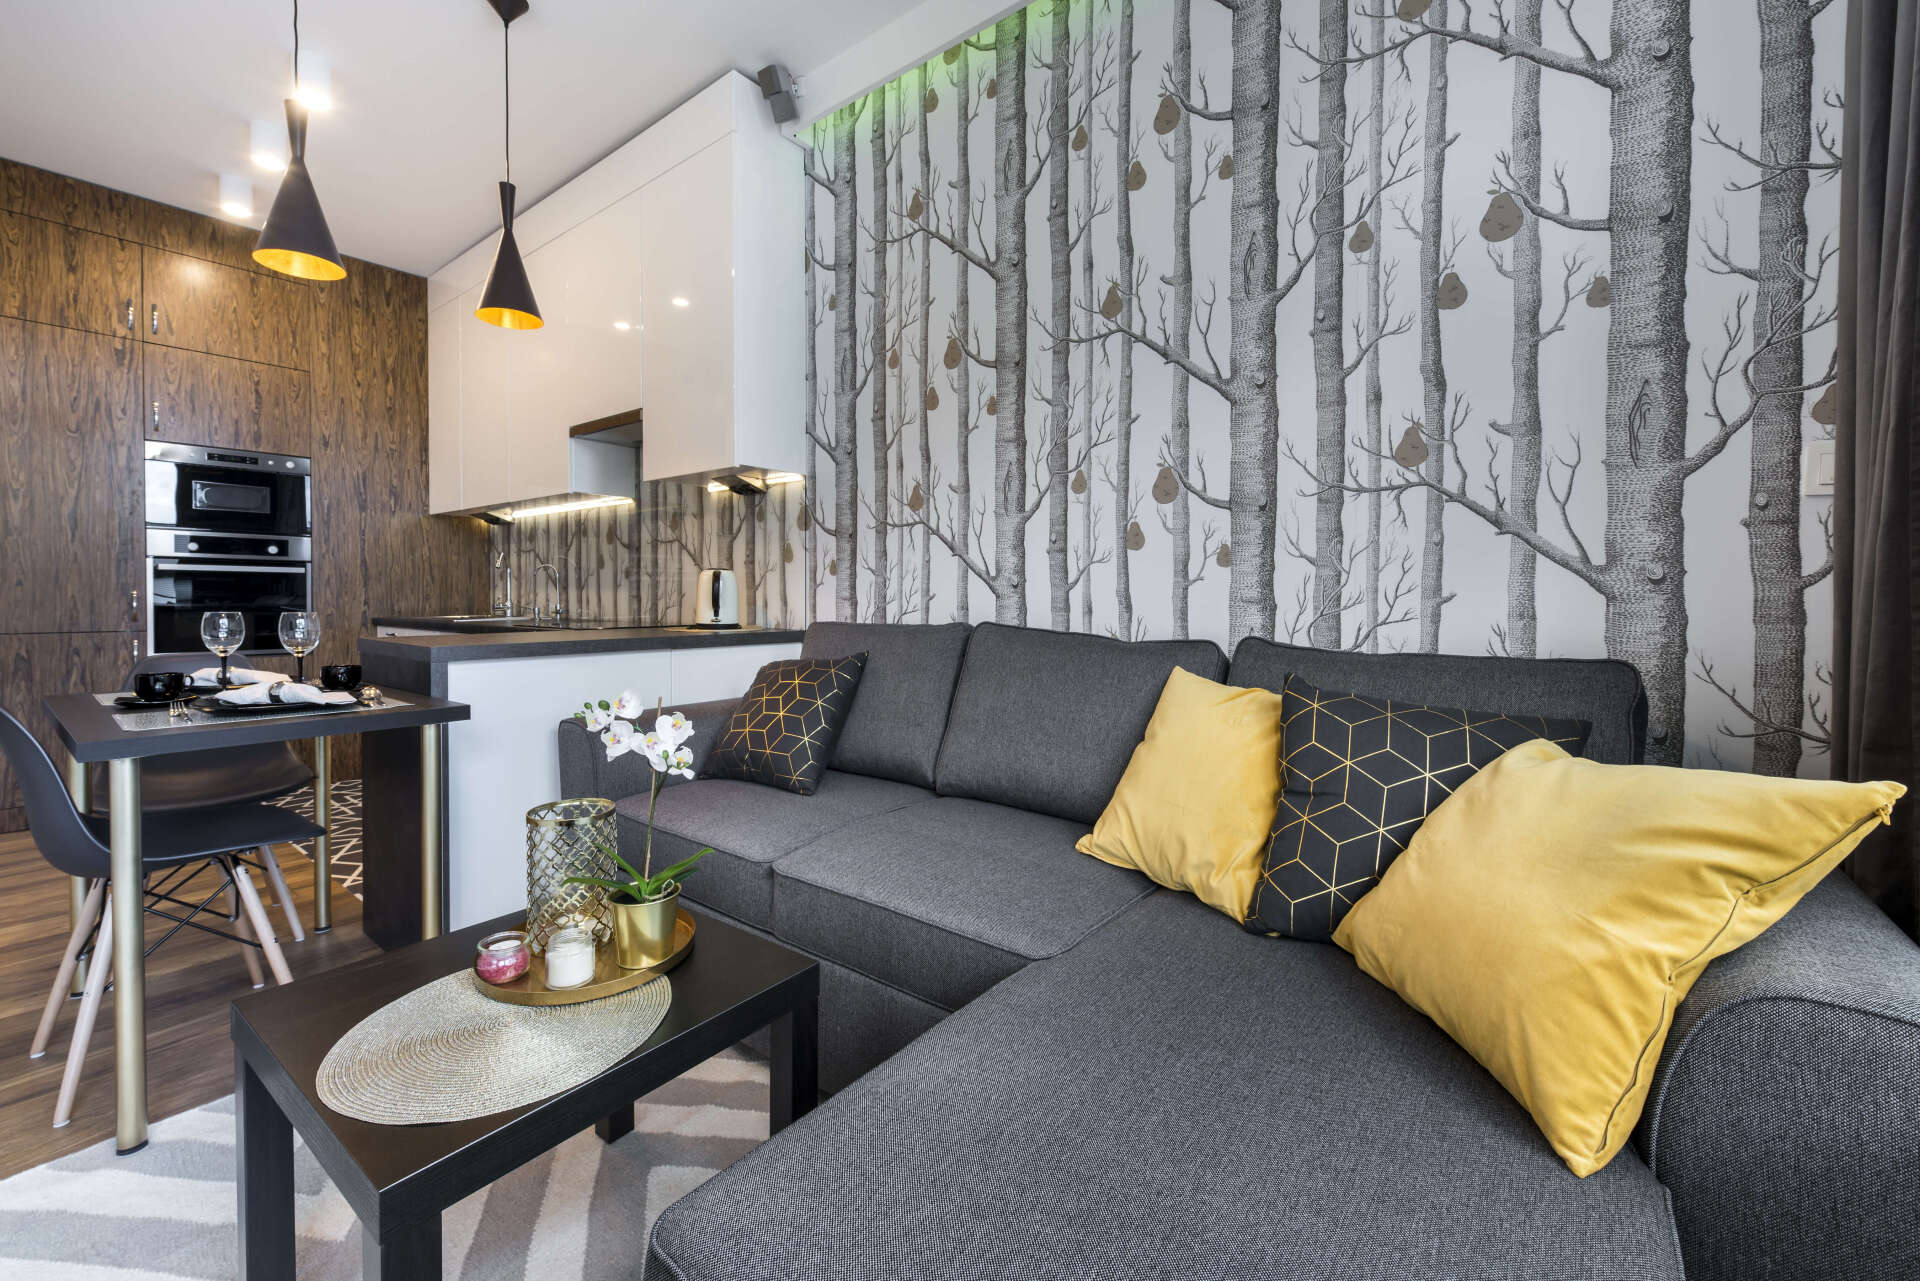
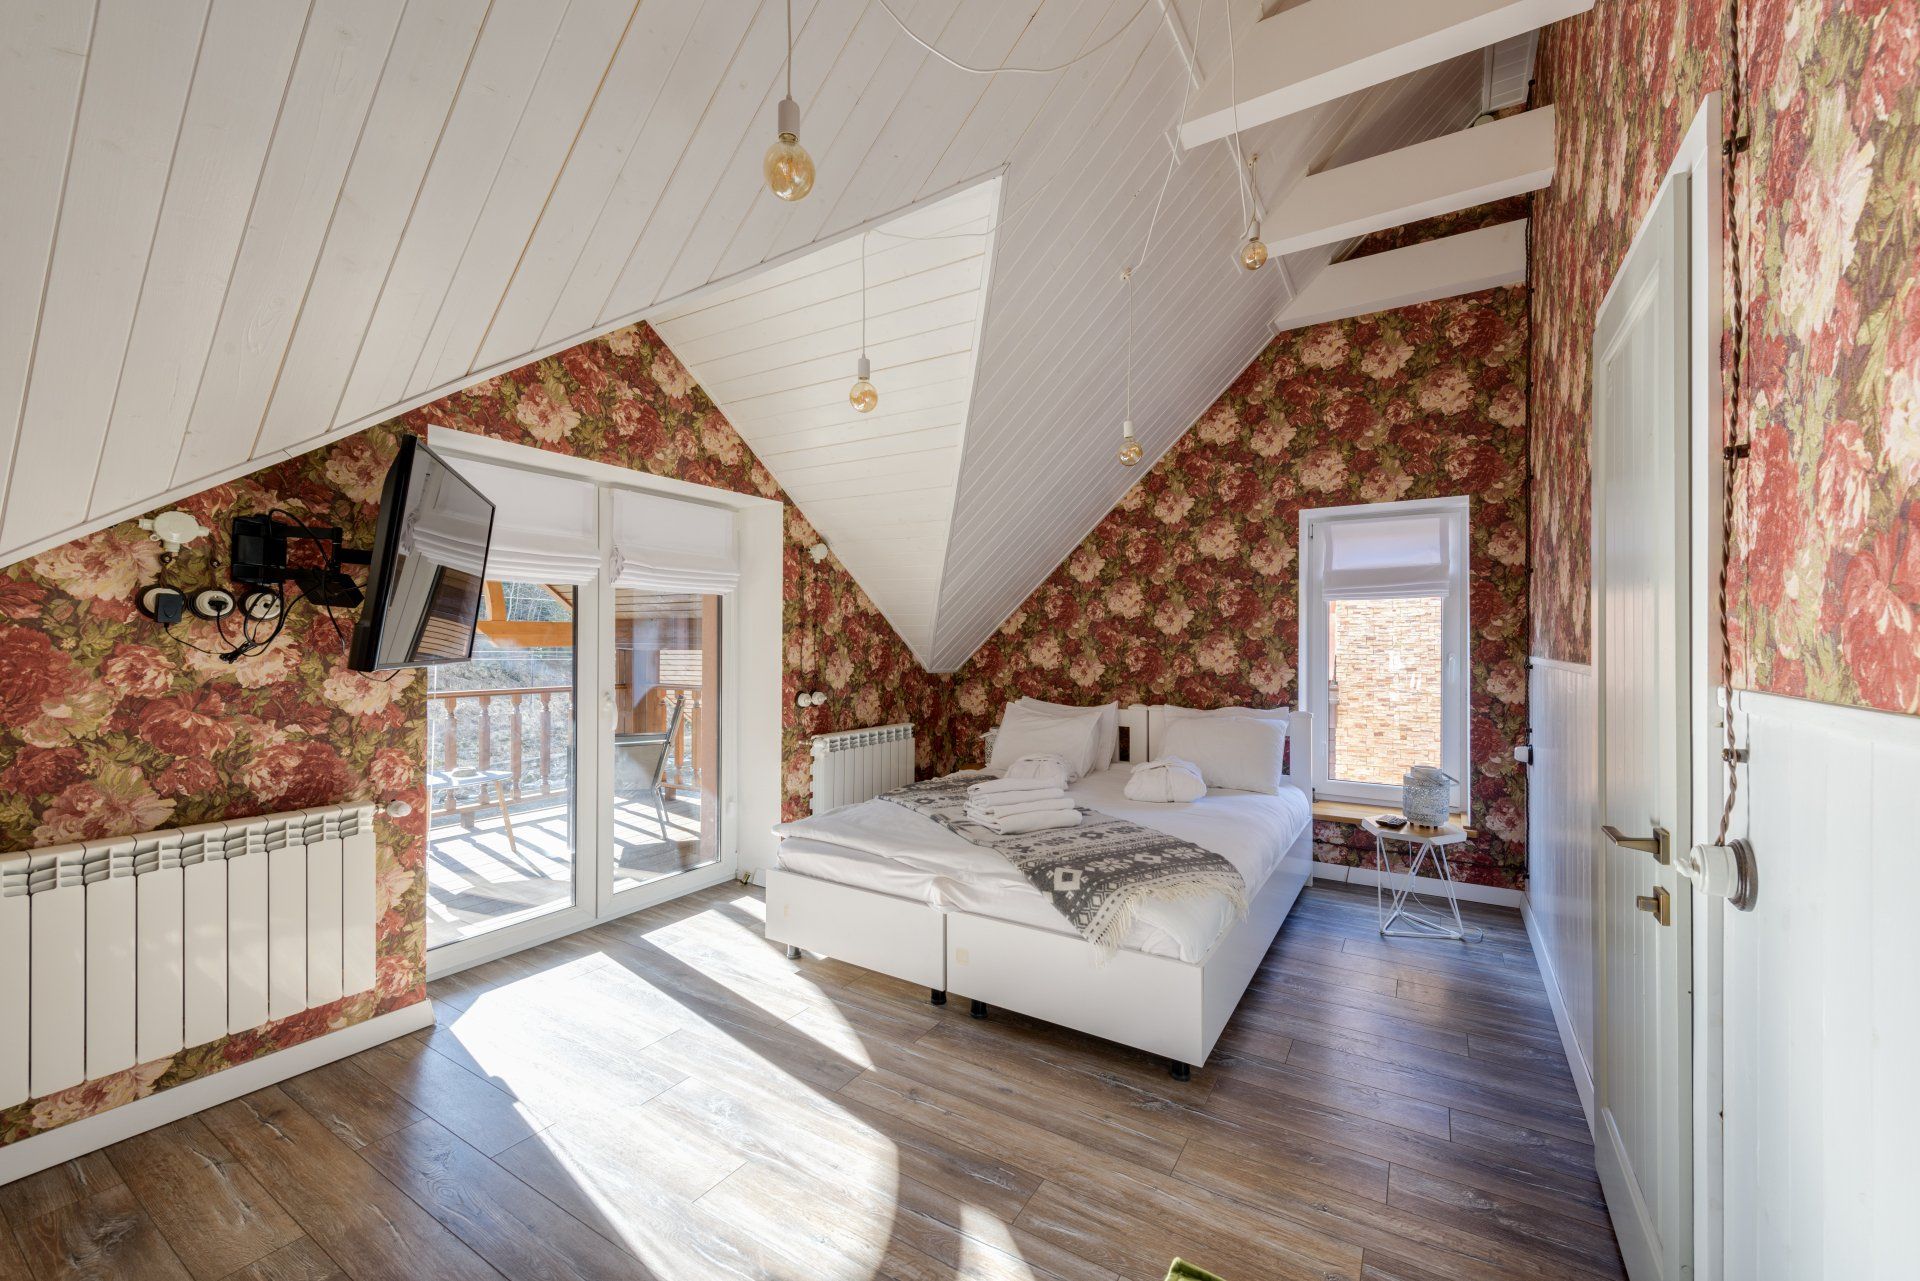
Whether you're installing mural wallpaper or traditional wallpaper, this step-by-step guide will walk you through the essential process of preparing your walls for a seamless finish. We’ll highlight five expert-recommended wall preparation guides to help ensure your wallpaper looks flawless and adheres properly.

Why Wall Preparation Matters Before Wallpaper Installation
Preparing your walls properly is one of the most important steps in wallpaper installation. Uneven surfaces, leftover adhesive, and moisture can lead to air bubbles, poor adhesion, and peeling wallpaper over time. A well-prepared wall ensures that your wallpaper lies flat, looks smooth, and stays in place for years.
Professional wallpaper installers always start with a thorough assessment of the wall condition, checking for cracks, old glue, or surface damage. Without this essential prep work, even premium wallpaper and adhesive may fail to perform as expected. Preparing the wall ensures better bonding, clean lines, and a neater finish that adds value to your home.
Step 1: Clean the Wall Surface Thoroughly
Before installing wallpaper, the first step is to clean the wall surface completely. Dust, grime, or grease can weaken the wallpaper adhesive, causing it to lift over time. Use a mild detergent and warm water to wash the wall, and be sure to remove cobwebs and other residue that may affect the smoothness. Once cleaned, allow the wall to dry before moving on to the next step.
Moisture on the wall surface can interfere with wallpaper glue and lead to poor adhesion or mildew growth later. A dry and clean surface promotes a strong, lasting bond with the wallpaper adhesive. Whether it's a commercial space or a residential bedroom, cleanliness is non-negotiable for wallpaper prep.
Step 2: Repair Imperfections Like Holes, Cracks, or Dents
Even the smallest imperfection can be visible through wallpaper, especially with lighter colours or thin materials. Use a filler or spackle to patch any holes or cracks, and sand the surface smooth once it’s dry. A smooth surface not only improves the appearance of the wallpaper but also helps prevent air bubbles or lifting edges. Don’t skip this step if you want a flawless wallpaper finish.
For older homes with plaster walls, cracks are common and should be addressed before installation. If you're unsure about your wall surface, a professional installer can inspect it and recommend the right repairs. Smooth walls provide an ideal base for applying traditional or mural wallpaper. Your wallpaper deserves a stable foundation to look its best and last longer.
Step 3: Remove Any Old Wallpaper or Paint Flakes
Leftover wallpaper or peeling paint can create uneven textures that ruin the final appearance of your new wallpaper. Use a wallpaper steamer or soaking method to soften and remove any old paper entirely. Scrape off flaking paint with a putty knife and sand the surface to ensure it’s smooth and ready for new adhesive.
Many DIY wallpaper failures happen because the installer didn’t take the time to remove previous materials. Our wallpaper removal service in Dee Why focuses on clean removal to prevent future issues. A clean, fresh wall is easier to work with and more likely to deliver professional results.
Step 4: Apply a Wall Primer or Sealer
Priming the wall creates a uniform surface and seals porous materials like plaster or drywall. It helps the wallpaper adhesive bond better and reduces the risk of moisture affecting the wallpaper later. Choose a wallpaper-specific primer to avoid compatibility issues, and apply it with a roller or brush for even coverage. Let it dry fully before beginning wallpaper installation.
Wall primers can also prevent the wall’s colour from bleeding through the wallpaper, especially with lighter designs. Priming is particularly important if your wall has been recently repaired or if it’s a new surface. This preparation step improves adhesion and makes wallpaper easier to remove in the future if you decide to update your style. A good primer equals a stronger, smoother finish.
Step 5: Smooth the Surface with Sanding
Once holes are filled and paint flakes are removed, sanding is your final smoothing step before wallpapering. Use fine-grit sandpaper to gently smooth the wall and eliminate rough spots or high points. A smooth wall surface ensures your wallpaper sticks evenly and prevents visible texture beneath the wallpaper. After sanding, wipe the surface clean to remove dust before installation.
Sanding makes your wall feel professionally finished and gives your wallpaper a sleek, luxurious appearance. If your walls are textured or uneven, sanding can significantly improve the overall result. Always sand between repair and priming to maximize adhesion and reduce wallpaper lift. With a fully prepped and sanded wall, you're ready to move forward with confidence.
Common Mistakes to Avoid When Preparing Walls for Wallpaper
Many DIY attempts fail because of overlooked details during preparation. One common mistake is installing wallpaper on freshly painted walls that haven’t fully cured, this can cause bubbling or poor adhesion. Skipping primer is another error that leads to weak bonding and peeling wallpaper over time. Also, never install wallpaper over dusty, greasy, or uneven surfaces.
Make sure all walls are completely dry and that any surface repairs have set before beginning the wallpapering process. Rushing through the preparation stage may save time initially, but often results in costly rework. Trust the experts at SYD Wallpaper to guide you through every step, ensuring no detail is missed. A little extra effort up front delivers beautiful, long-lasting results.
Conclusion
Preparing your walls properly is the secret to a flawless wallpaper installation. Clean surfaces, repaired imperfections, primed walls, and expert sanding all contribute to a polished, lasting finish. Whether you're planning a bold mural or subtle traditional wallpaper, SYD Wallpaper ensures your walls are prepped to perfection. From initial assessment to the final result, we deliver exceptional value and workmanship in every project. Let us help you transform your walls with confidence. Contact us today for wallpaper installation and removal services.
You might also like
SYD Wallpapering Blog