How to Prepare Your Walls for Wallpaper Installation: A Comprehensive Guide
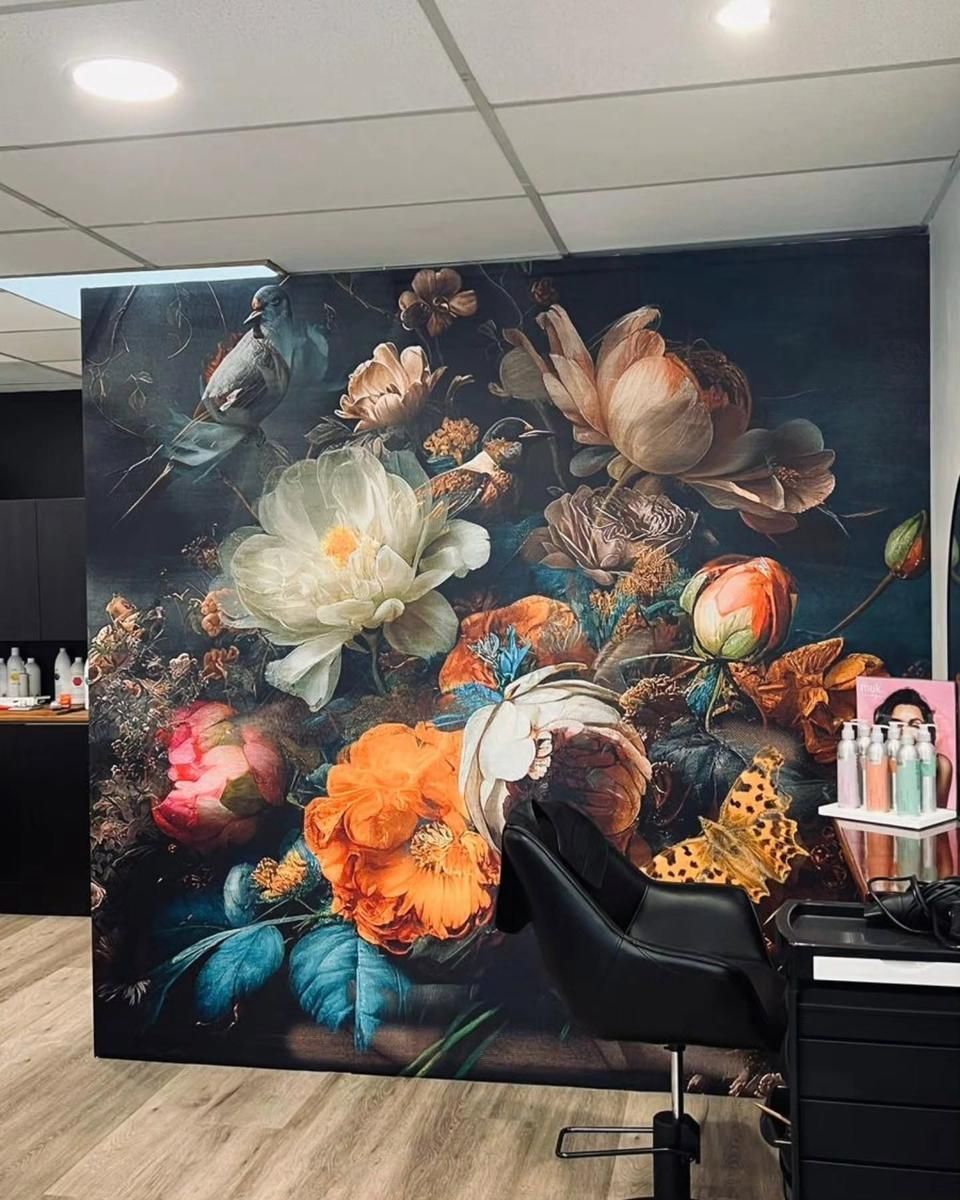
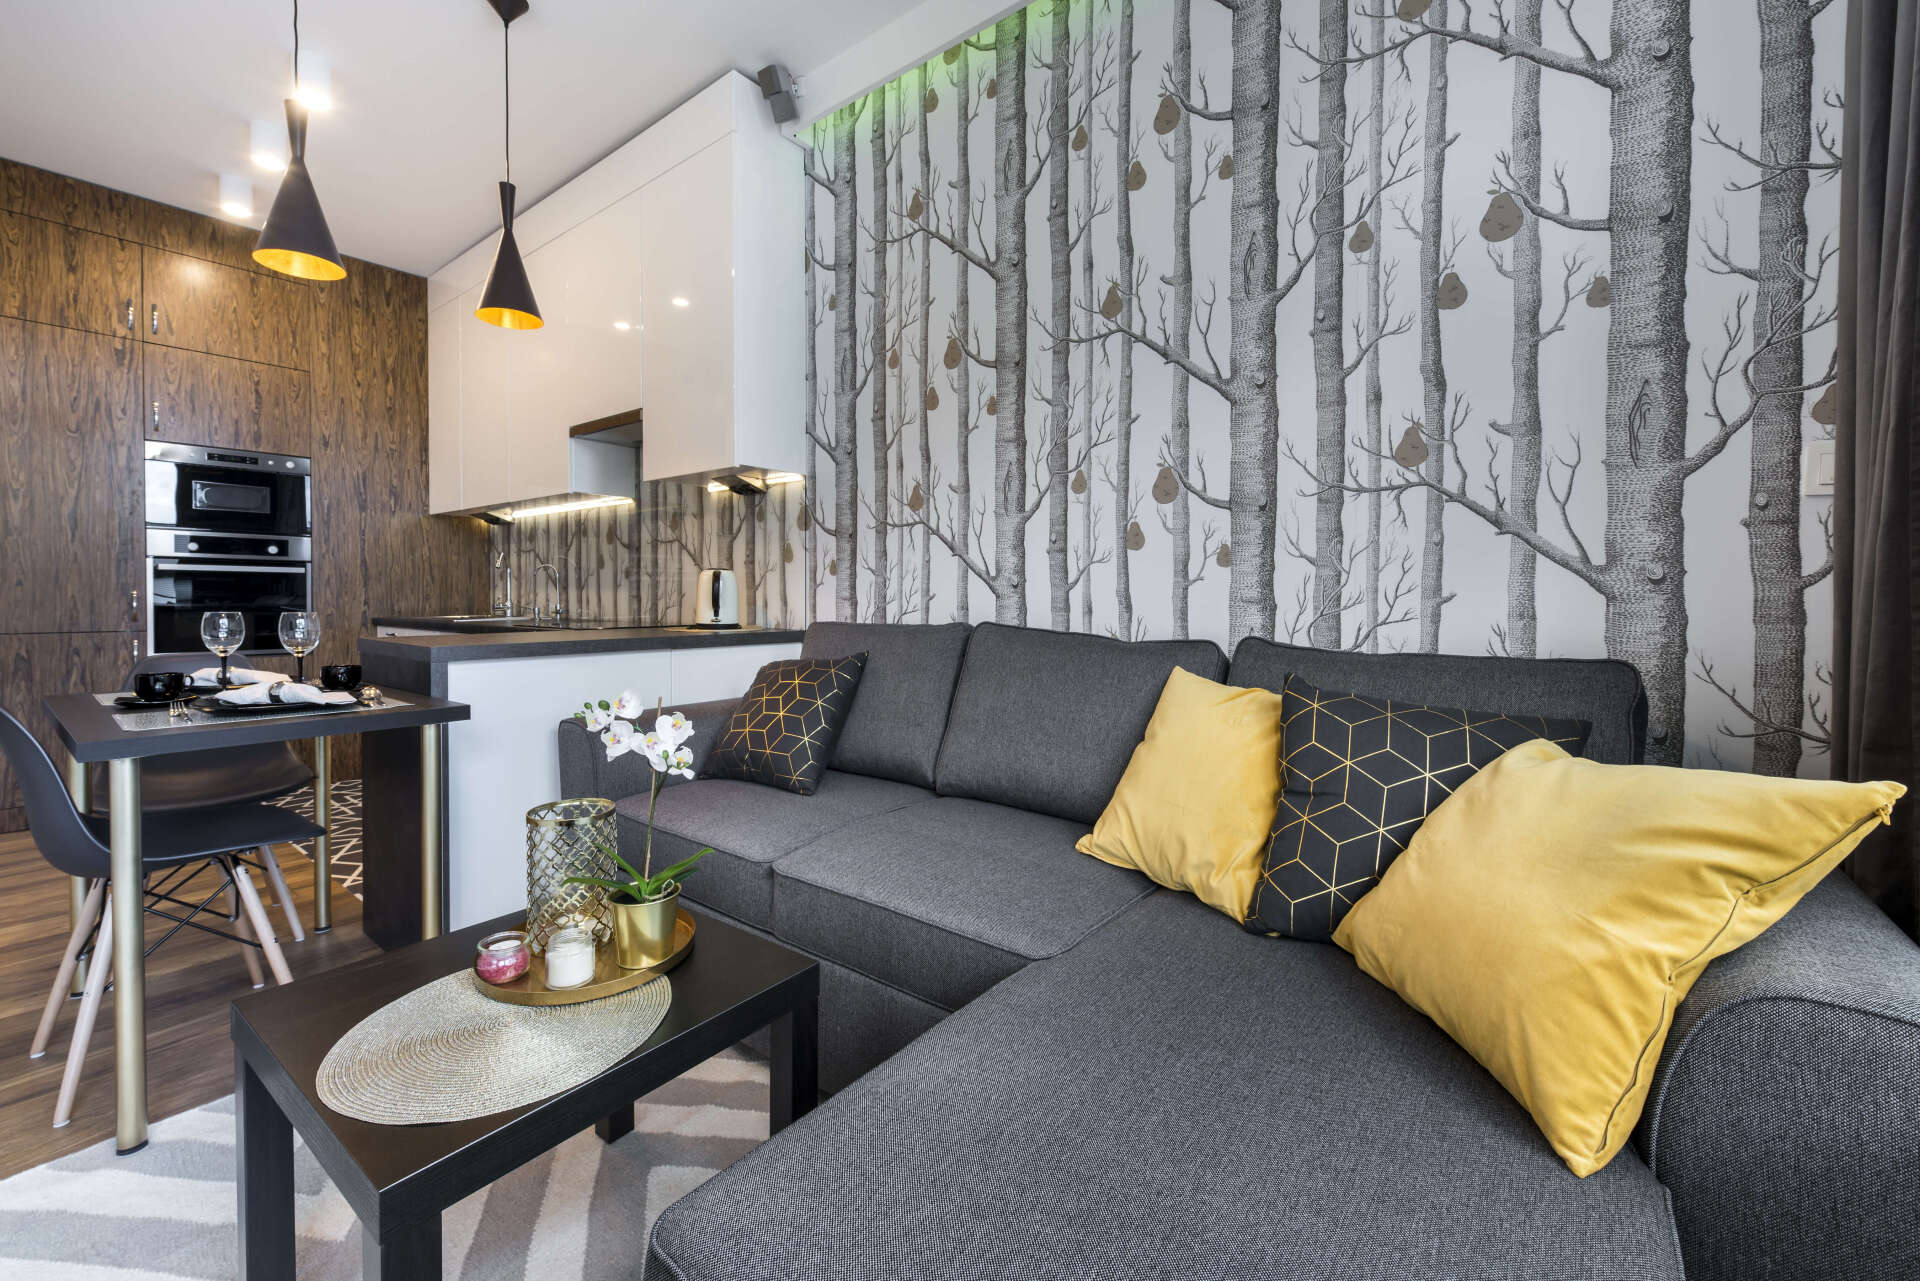
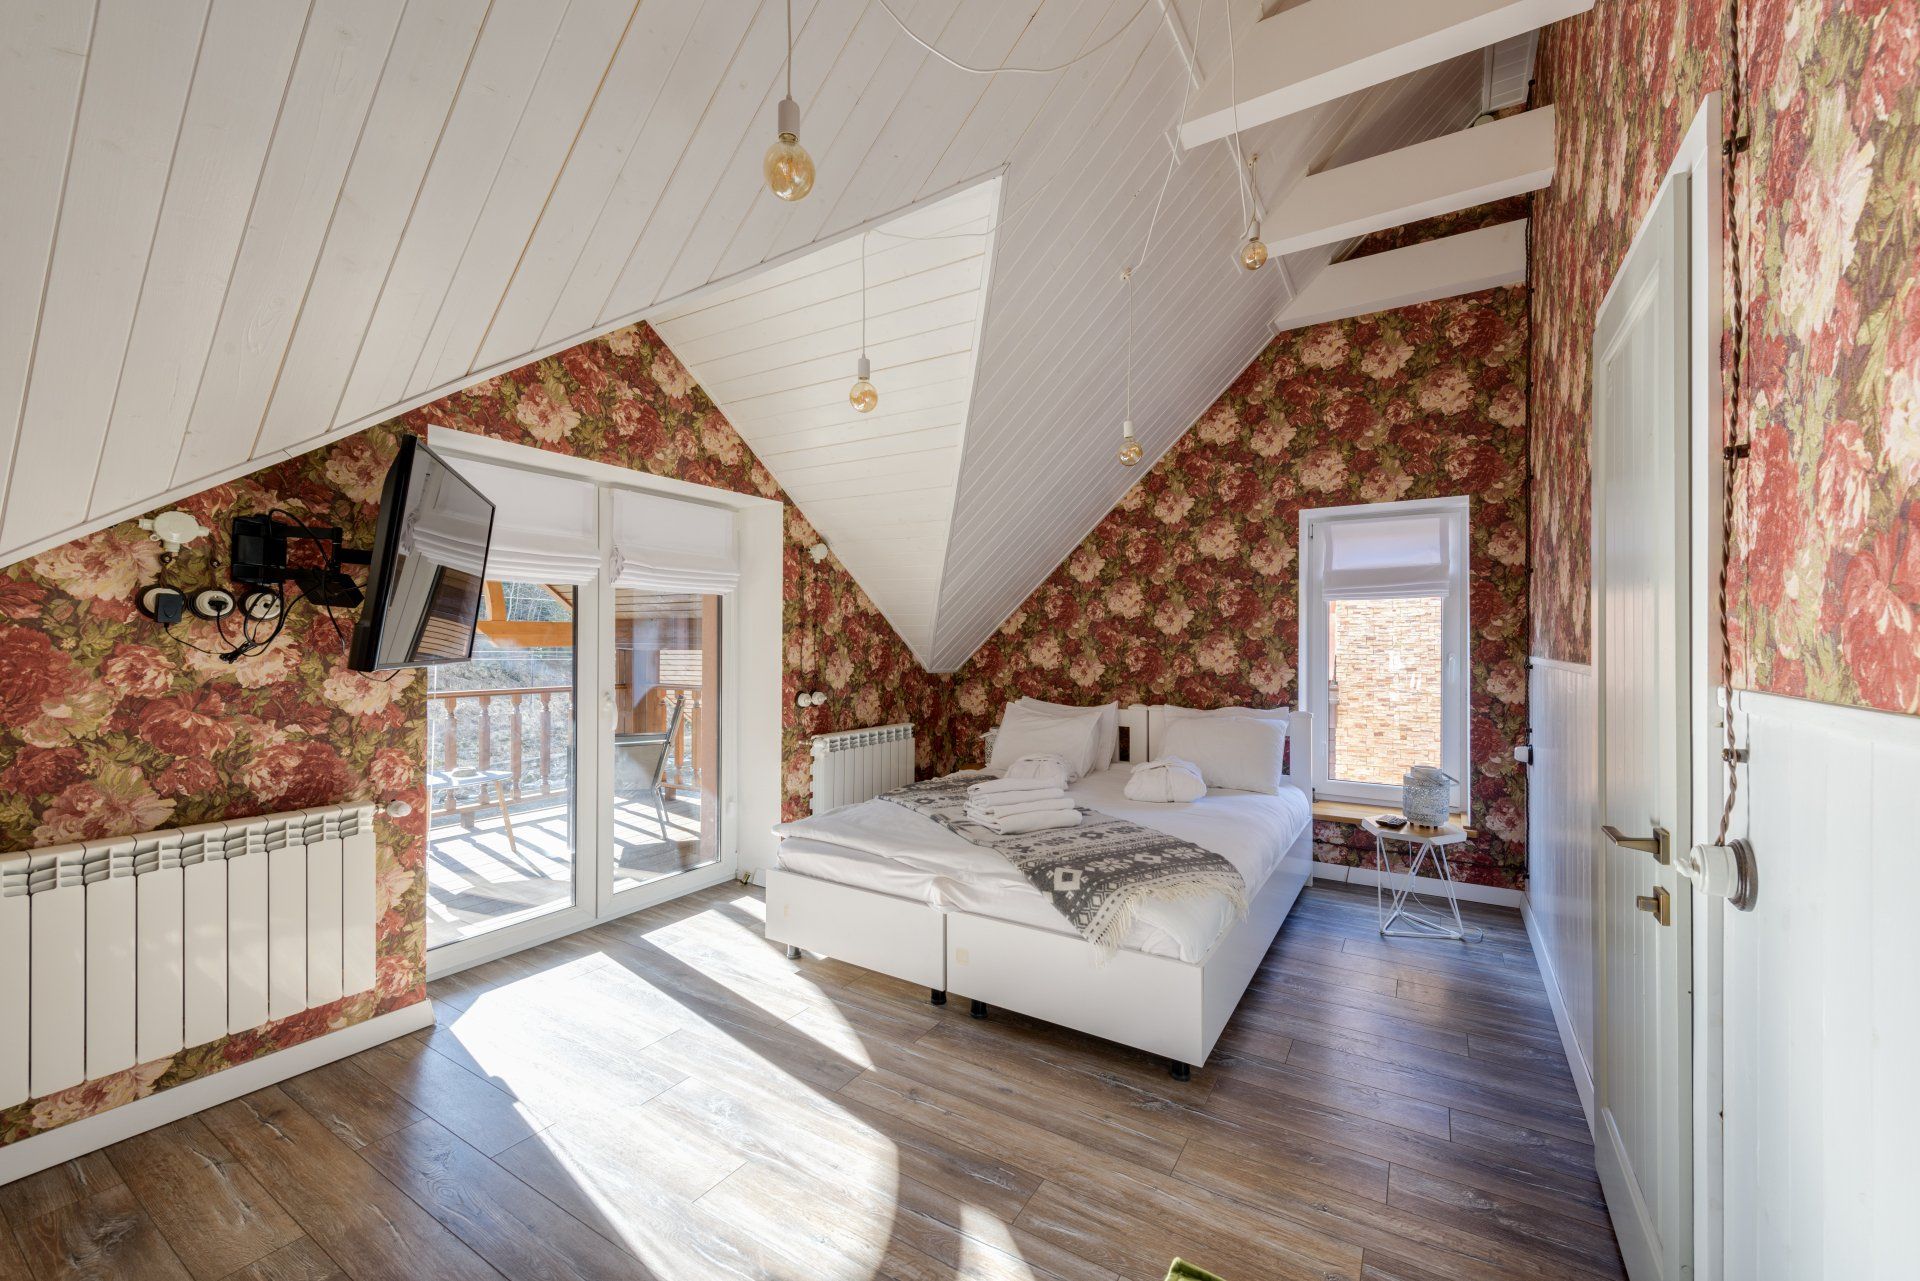
Wallpaper has made a significant comeback in recent years, offering homeowners a chance to infuse personality, texture, and style into their living spaces. Unlike paint, wallpaper can add depth and visual interest that transforms a room from ordinary to extraordinary. However, the secret to a flawless and long-lasting wallpaper installation lies not just in the quality of the wallpaper itself, but also in the meticulous preparation of the walls. Improperly prepared walls can lead to a host of problems, including bubbles, peeling, visible seams, and a generally unprofessional appearance. This comprehensive guide will walk you through every step of the process, ensuring your walls are perfectly primed for a stunning wallpaper transformation. If you're considering hiring professional wallpaper installation services, understanding these steps will also help you evaluate the quality of their work.

Why Wall Preparation Matters: The Foundation of a Flawless Finish
Before diving into the specifics of wallpaper installation, it's essential to understand why wall preparation is vital. Think of it as the foundation of a house: a weak or uneven foundation will lead to problems, no matter how beautiful the structure built upon it. Similarly, poorly prepared walls can undermine even the most exquisite wallpaper.
One key reason for proper wall preparation is adhesion. Wallpaper requires a clean, smooth, and slightly porous surface to adhere effectively. Dust, dirt, grease, and existing paint can interfere with adhesion, causing the wallpaper to peel or bubble over time.
Smoothness is another critical factor. Any imperfections on the wall—such as bumps, dents, or cracks—will be visible through the wallpaper. Proper preparation ensures a smooth, even surface, allowing the wallpaper to lay flat and look its best. Moisture control is also crucial. Walls can absorb moisture, which can damage the wallpaper and lead to peeling. Priming the walls creates a barrier that prevents moisture from seeping through and compromising the adhesive. Uniform color is another consideration. Existing paint colors, especially dark or vibrant hues, can bleed through lighter-colored wallpapers. Using a tinted primer helps create a uniform base color, preventing color bleed and ensuring the wallpaper's true color shines through.
Finally, proper wall preparation significantly extends the lifespan of your wallpaper. By ensuring good adhesion and moisture control, you can prevent premature peeling, bubbling, and other issues that can shorten the life of your wallpaper. Investing time and effort into proper wall preparation is an investment in the long-term beauty and durability of your wallpaper. While it may be tempting to skip this step to save time, the potential problems and costs associated with poorly installed wallpaper far outweigh the effort required for proper preparation. Remember, redoing a botched job will ultimately cost more than doing it right the first time.
Step-by-Step Guide to Preparing Your Walls for Wallpaper
Now that you understand the importance of wall preparation, let's delve into the specific steps involved. This guide is designed to be comprehensive, covering everything from cleaning to priming.
1. Gathering Your Supplies:
Before you begin, gather all the necessary supplies to ensure a smooth and efficient process. Here's a checklist:
- Drop cloths: To protect your floors from dust, dirt, and paint.
- Cleaning supplies: Including a sponge, bucket, mild detergent, and TSP (trisodium phosphate) for stubborn grease.
- Scraper: For removing loose paint or wallpaper.
- Sandpaper: Various grits (120-grit, 220-grit) for smoothing rough surfaces.
- Putty knife: For applying patching compound.
- Patching compound: For filling holes and cracks.
- Primer: A high-quality wallpaper primer.
- Paint roller and tray: For applying primer.
- Painter's tape: For protecting trim and edges.
- Screwdriver: For removing outlet covers and switch plates.
- Utility knife: For trimming excess patching compound.
- Safety glasses and gloves: To protect your eyes and hands.
2. Preparing the Room:
Before you begin working on the walls, it's essential to prepare the room to minimize mess and ensure a safe working environment. Start by removing all furniture from the area near the walls. This step not only creates more space to work but also protects your furniture from dust and potential damage. Once the furniture is moved, cover it with drop cloths to shield it from any debris that may arise during the installation process. Next, protect the floor by laying down drop cloths. This precaution helps prevent dust, dirt, and any spills from damaging your flooring. A clean work area is crucial for achieving the best results.
Be sure to remove outlet covers and switch plates using a screwdriver. This is an important step that not only prevents damage to these items but also allows for a cleaner finish around electrical fixtures. Store them in a safe place to avoid losing them during the project. Finally, tape off any trim, baseboards, and window frames with painter's tape. This protects these areas from primer and wallpaper adhesive, ensuring clean edges and a polished look once the installation is complete. Taking the time to prepare the room properly will lead to a smoother and more efficient wallpaper installation process.
3. Cleaning the Walls:
The first step in preparing your walls is to thoroughly clean them. This process removes any dirt, dust, grease, or other contaminants that can interfere with wallpaper adhesion. Begin by dusting the walls. Use a clean, dry cloth or a vacuum cleaner with a brush attachment to remove loose dust and dirt. This initial step is crucial as it clears away surface debris that could hinder the wallpaper's ability to stick properly. Next, wash the walls by filling a bucket with warm water and a mild detergent. Use a sponge to wash the surfaces, paying particular attention to areas that appear greasy or particularly dirty. This thorough cleaning helps ensure that the wallpaper adheres well to a clean surface.
For stubborn grease stains, you can use TSP (trisodium phosphate) following the manufacturer's instructions. Be sure to wear gloves and safety glasses when working with TSP, as it can be harsh on the skin and eyes. This step is essential for tackling tough stains that regular washing might not remove. After washing, it’s important to rinse the walls with clean water to eliminate any detergent residue. This ensures that no cleaning agents interfere with the wallpaper adhesive. Finally, allow the walls to dry completely before proceeding to the next step. Ensuring that the walls are dry will help achieve optimal adhesion for your wallpaper, leading to a successful installation.
4. Repairing Imperfections:
Once the walls are clean, the next step is to repair any imperfections, such as holes, cracks, or dents. These flaws can be visible through the wallpaper, making it essential to address them before proceeding. Start by scraping away any loose paint or wallpaper. Use a scraper to carefully remove these materials from the walls. This step ensures that you have a clean surface to work with, free from anything that could interfere with the repair process. Next, fill any holes and cracks using a putty knife to apply patching compound. It’s best to apply the compound in thin layers, allowing each layer to dry completely before adding the next. This method helps achieve a smooth and even repair, minimizing the risk of imperfections showing through the wallpaper.
Once the patching compound is dry, it’s time to sand the repaired areas. Use sandpaper to smooth these spots, starting with a coarser grit (120-grit) and then moving to a finer grit (220-grit) for a polished finish. Sanding helps blend the patched areas with the surrounding wall, creating a seamless surface. Finally, remove any sanding dust with a clean, dry cloth. This final step ensures that the walls are free from debris, making them ready for the next phase of wallpaper installation. Taking the time to repair these imperfections will result in a smoother and more professional-looking finish.
5. Sanding the Walls:
Sanding the walls is a crucial step in creating a smooth, even surface for wallpaper adhesion. This process helps remove any remaining imperfections and creates a slightly porous texture that allows the wallpaper to grip effectively. Begin by using sandpaper to lightly sand the walls. Focus on areas that are rough or uneven, ensuring that the surface is as smooth as possible. This attention to detail is vital for achieving a professional finish. After sanding, it’s important to remove any sanding dust from the walls. Use a clean, dry cloth to wipe down the surfaces thoroughly. This step ensures that the walls are free from debris, preparing them for the next phase of your wallpaper installation. Proper sanding will significantly enhance the adhesion and overall appearance of the wallpaper.
6. Priming the Walls:
Priming the walls is the final and arguably most important step in preparing your walls for wallpaper. A good primer creates a smooth, uniform surface that promotes adhesion, prevents moisture absorption, and ensures a consistent color base. Choosing the right primer is crucial for a successful wallpaper installation, so if you're seeking affordable wallpaper installation, ensure that professionals use quality primers.
Start by selecting a high-quality wallpaper primer specifically designed for use beneath wallpaper. These primers are formulated to create a smooth, slightly porous surface that enhances adhesion, ensuring your wallpaper adheres properly and lasts longer. Next, apply the primer using a paint roller. It's important to apply the primer in thin, even coats, overlapping each stroke slightly to avoid streaks. This method helps achieve a uniform finish across the entire wall surface.
Finally, allow the primer to dry completely according to the manufacturer's instructions. Drying times can vary, so it may take several hours or even overnight. Ensuring the primer is fully dry before proceeding is essential for optimal wallpaper adhesion, setting the stage for a beautiful and lasting finish.
Choosing the Right Primer
Selecting the appropriate primer is crucial for a successful wallpaper installation. Not all primers are created equal, and using the wrong type can lead to adhesion problems, moisture damage, and other issues. Wallpaper-specific primers are specially formulated to create an ideal surface for wallpaper adhesion. They provide a slightly textured surface that allows all types of wallpaper to grip properly, effectively preventing issues like peeling and bubbling. Using this type of primer ensures that the wallpaper adheres well and maintains its appearance over time.
When applying light-colored wallpaper over dark or vibrant walls, using a tinted primer is essential. Tinted primers help block the underlying color from bleeding through the wallpaper, ensuring a consistent and accurate color representation. This step is vital for achieving the desired aesthetic and ensuring that the wallpaper looks exactly as intended.
For areas prone to moisture, such as bathrooms and kitchens, moisture-resistant primers are crucial. These primers create a barrier that prevents moisture from seeping into the walls and damaging the wallpaper. By using a moisture-resistant option, you can help maintain the integrity of your wallpaper, ensuring it remains intact and visually appealing in humid environments. By choosing the right primer, you set the stage for a successful wallpaper installation that enhances both the beauty and longevity of your walls.
Troubleshooting Common Wall Preparation Problems
Even with careful planning and execution, you may encounter some common wall preparation problems. Here's how to troubleshoot them:
- Peeling Paint: If you have peeling paint, it's essential to remove it completely before priming. Use a scraper to remove loose paint and then sand the area smooth.
- Grease Stains: Grease stains can be difficult to remove, but TSP (trisodium phosphate) is an effective solution. Follow the manufacturer's instructions carefully and wear gloves and safety glasses.
- Mold or Mildew: Mold or mildew can be a serious problem, especially in bathrooms and kitchens. Treat the affected areas with a mold and mildew remover before priming.
- Uneven Walls: If your walls are significantly uneven, you may need to apply multiple coats of patching compound to create a smooth surface. Sand each coat smooth before applying the next.
Conclusion
Preparing your walls for wallpaper installation may seem like a daunting task, but it's an essential step in achieving a flawless and long-lasting result. By following the steps outlined in this guide, you can ensure that your walls are perfectly primed for a stunning wallpaper transformation. Remember to take your time, pay attention to detail, and don't hesitate to seek professional help if needed. Whether you opt for DIY or engage with professional Wallpaper Installation, the key is thorough preparation. With properly prepared walls, your wallpaper will look its best for years to come, adding beauty and personality to your home. If you're looking for the best Wallpaper Installation and want to know the Wallpaper Installation cost, get quotes from several reputable companies. Don't wait for an emergency Wallpaper Installation due to poor preparation – invest the time upfront!
About SYD Wallpaper
Syd Wallpaper provides expert wallpaper installation services in Sydney and surrounding areas. We offer a wide selection of high-quality wallpapers and professional installation for residential and commercial properties. Our skilled installers ensure precise application, seamless patterns, and a flawless finish every time. We handle everything from wall preparation to final inspection, providing a hassle-free experience. Contact Syd Wallpaper today for a free consultation and transform your space with stunning wallpaper designs.
You might also like
SYD Wallpapering Blog