How to Hang Peel and Stick Wallpaper: Sydney DIY Guide
Peel and stick wallpaper is a simple way to refresh your Sydney home without wallpaper paste, complicated tools, or a major renovation. Whether you are decorating a bedroom, creating a feature wall, or updating a rental property, successful installation depends on preparing the wall, aligning the pattern, and carefully smoothing the wallpaper.
This guide explains how to hang peel and stick wallpaper step by step, prevent common installation mistakes, and determine when professional wallpaper installation is the better option.
Here’s What You’ll Need
Before starting your DIY peel and stick wallpaper installation, gather these supplies:
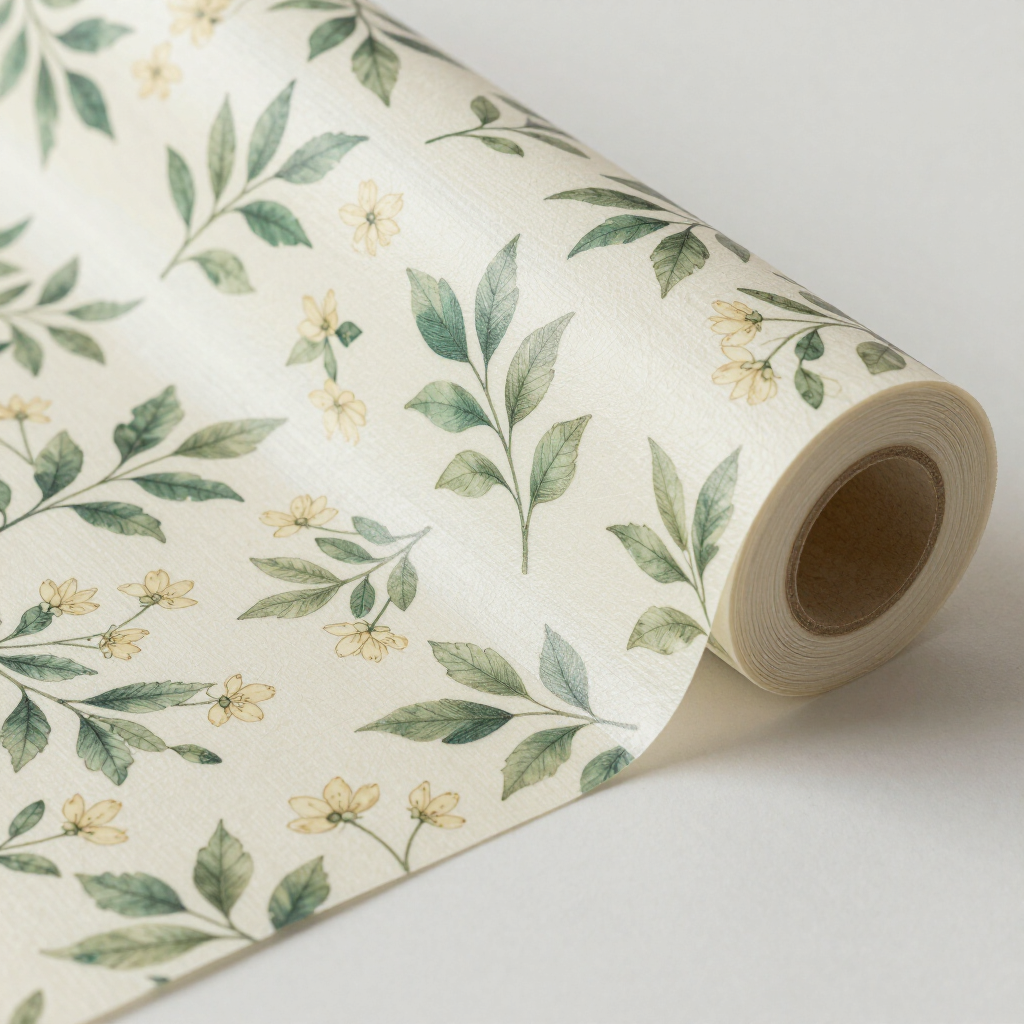
- Peel and stick wallpaper
- Tape measure and pencil
- Spirit level or plumb line
- Utility knife or sharp scissors
- Wallpaper smoother or plastic squeegee
- Straight edge
- Ladder
- Microfibre cloth and mild cleaner
- Hairdryer, optional for suitable corners or cool rooms
Peel and stick wallpaper generally adheres best to smooth, clean, dry walls with a fully cured painted finish. Textured, damp, or porous surfaces can prevent the adhesive from bonding properly.
Step-by-Step Guide to Hanging Peel-and-Stick Wallpaper
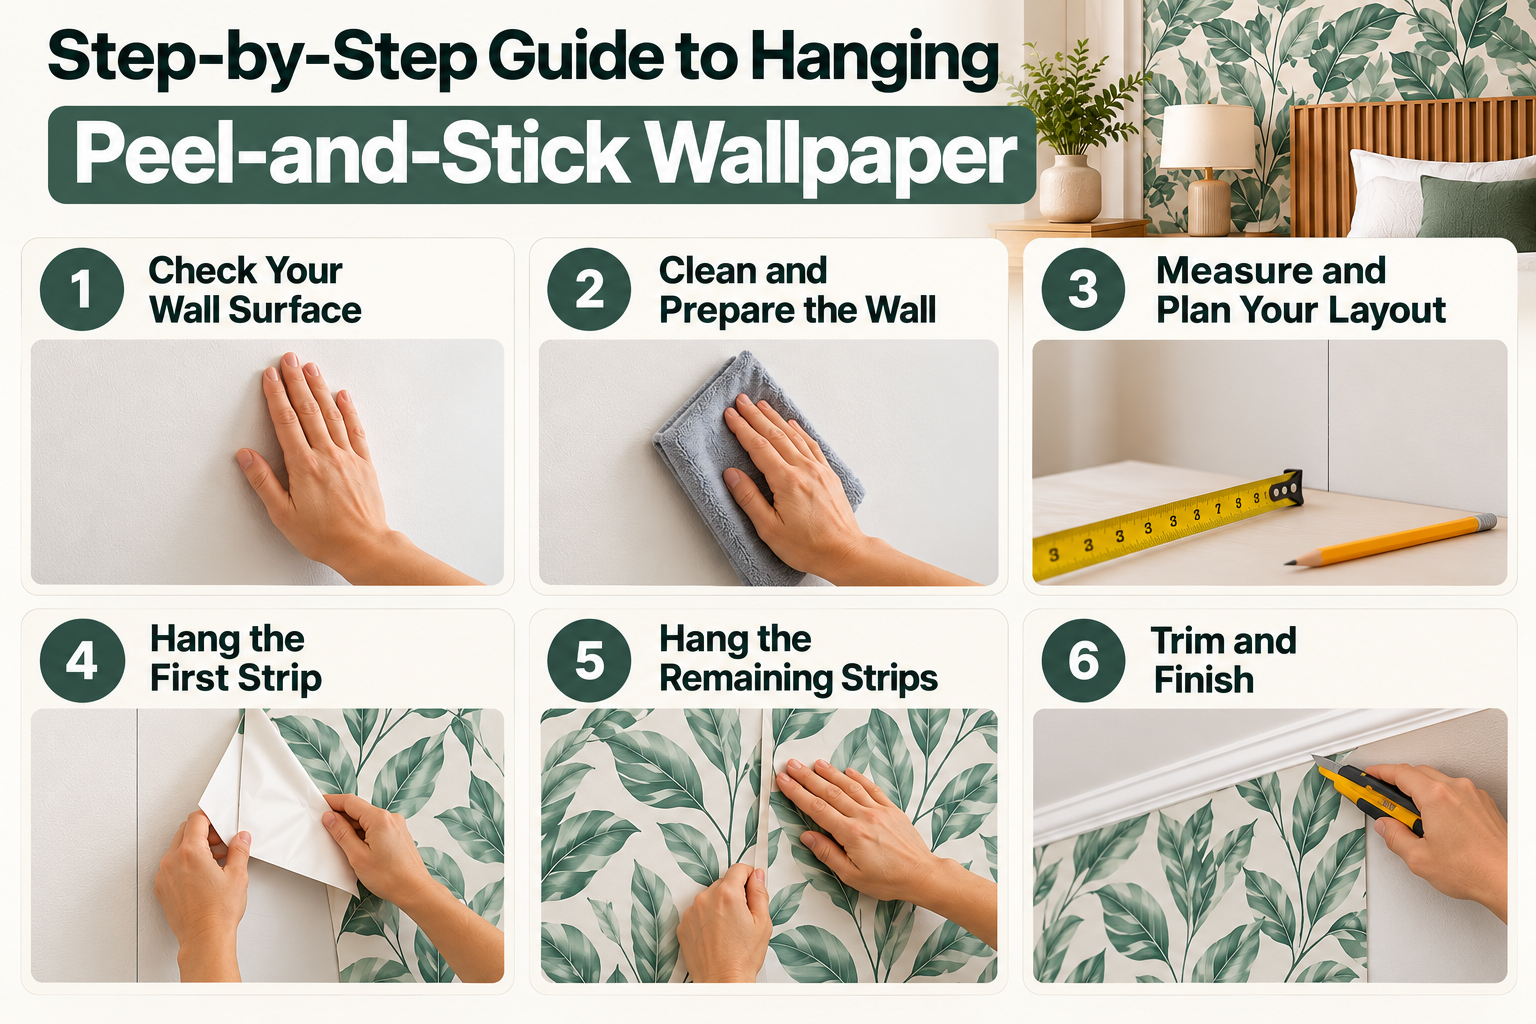
Step 1: Check Your Wall Surface
Inspect your wall before installing removable wallpaper. The surface should be smooth, dry, clean, and free from dust, grease, mould, loose paint, and crumbling plaster. Avoid applying peel and stick wallpaper directly to brick, unpainted cement, heavily textured paint, or damaged plasterboard unless the product manufacturer confirms that the surface is suitable. For Sydney homes, pay particular attention to moisture in bathrooms, laundries, and poorly ventilated rooms. Excess humidity can weaken the adhesive and cause edges to lift.
Tip: If your wall has been painted recently, allow the paint to fully cure before installation. Many manufacturers recommend waiting approximately four weeks, but always follow the specific paint and wallpaper instructions.
Step 2: Clean and Prepare the Wall
Wipe the wall with a microfibre cloth and mild cleaner to remove fingerprints, dust, and grease. Allow the surface to dry completely before proceeding.
Fill small holes and cracks, sand down rough patches, and remove wall fixtures or switch plates where appropriate. Proper wall preparation helps the adhesive make consistent contact with the surface, reducing bubbles and peeling edges. Allow wallpaper rolls to acclimatise in the room for at least 24 hours, as recommended by the manufacturer. Check the product instructions for any specific temperature or storage requirements.
Step 3: Measure and Plan Your Layout
Measure the wall's height and width, then calculate how many wallpaper strips you need. Allow extra material at the top and bottom for trimming.
If your wallpaper has a repeating design, check the pattern repeat before cutting each strip. Florals, geometric prints, and large-format murals can require additional material to maintain alignment. Next, use a spirit level or plumb line to draw a vertical guideline near your starting edge. Do not assume that a corner or ceiling is perfectly straight. A level starting line helps prevent the entire installation from gradually slanting.
Step 4: Hang the First Strip
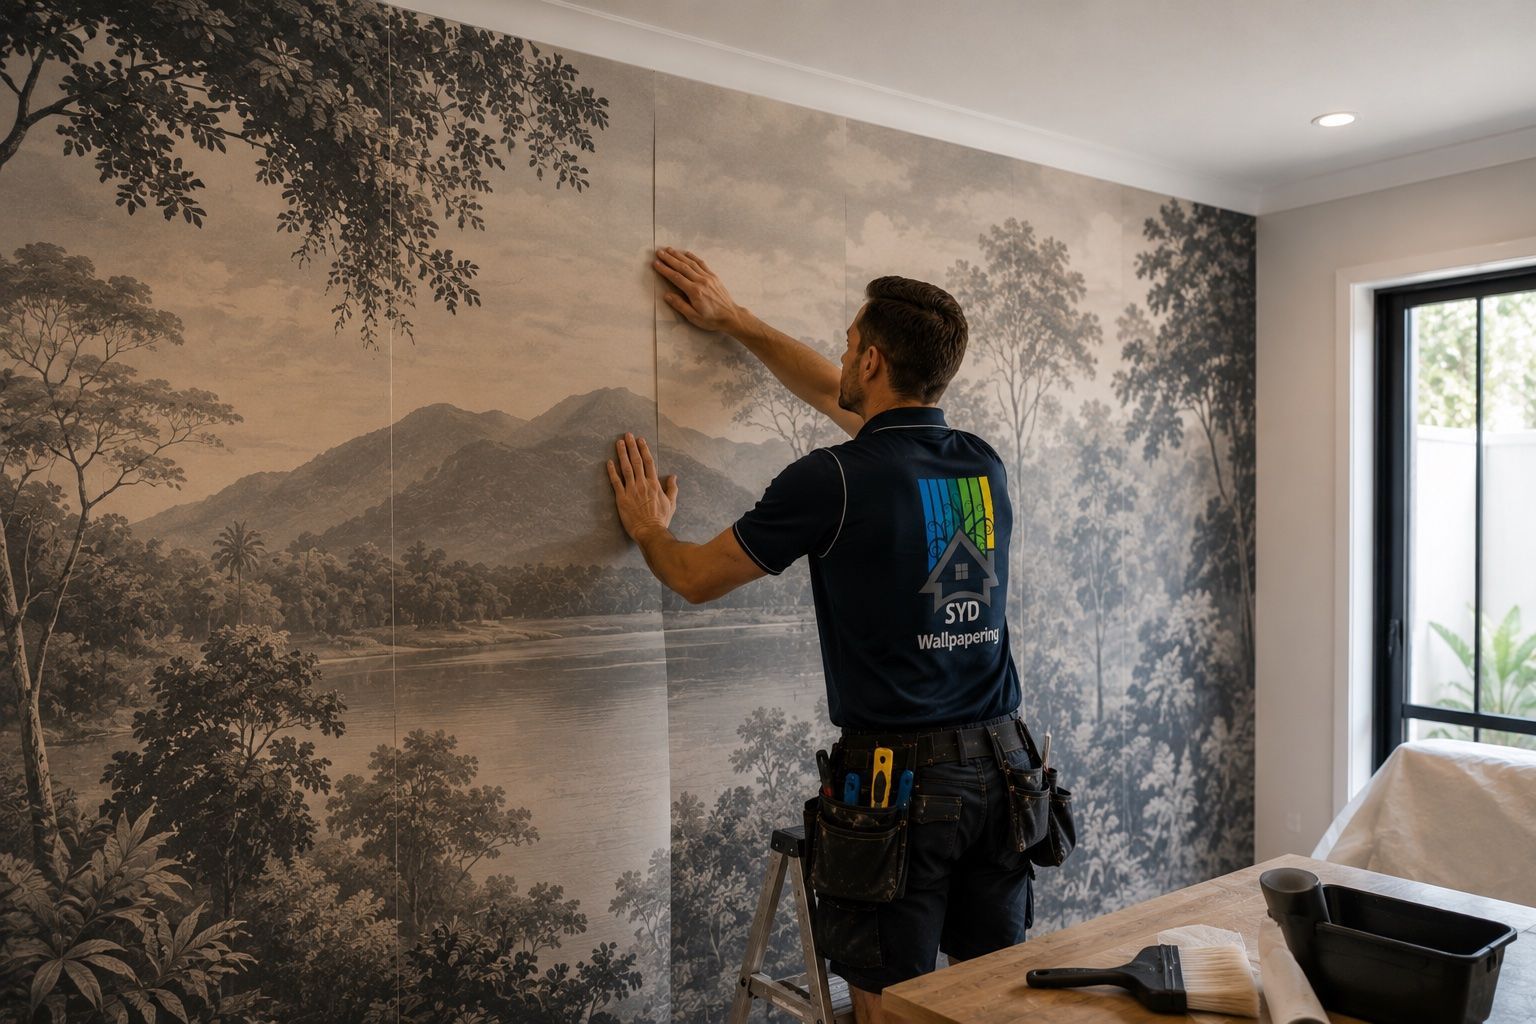
Cut the first strip slightly longer than the wall height to allow for excess material for trimming. Peel back approximately 10–15 cm of the backing paper and align the exposed adhesive edge with your vertical guideline. Press the wallpaper gently onto the wall, starting at the top. Gradually remove more backing paper as you work downwards, smoothing the wallpaper with a squeegee from the centre towards the edges. This technique helps remove trapped air under the wallpaper and creates an even finish. Avoid stretching the material while applying pressure. Stretching can cause the wallpaper to contract later, creating gaps or misaligned seams.
Step 5: Hang the Remaining Strips
Position each subsequent strip beside the previous one, matching the pattern before removing the backing paper. Align the edges according to the manufacturer's instructions. Most peel and stick wallpapers are installed edge-to-edge, but some products may specify a different method. Smooth each strip from the centre outwards, paying particular attention to the seams. Work slowly around windows, doors, corners, and power outlets.
Safety tip: Switch off the relevant electrical circuit at the switchboard before working around outlets or removing electrical faceplates. If you are unsure how to do this safely, seek assistance from a qualified electrician.
Step 6: Trim and Finish
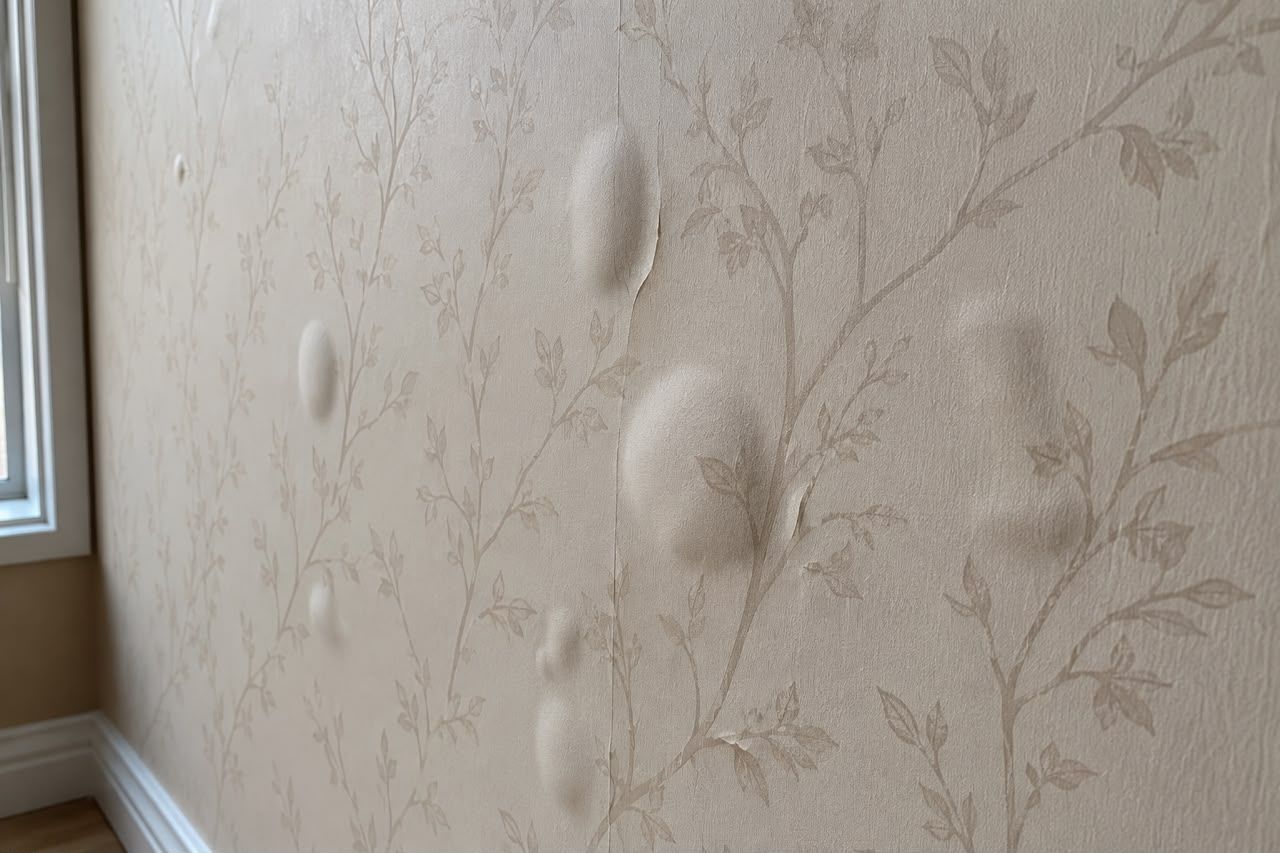
Once the wallpaper is positioned correctly, use a sharp utility knife and straight edge to trim excess material along the cornice, skirting boards, and window or door frames. Replace the blade when it becomes dull to avoid tearing the wallpaper or pulling its edges away from the wall. Finally, inspect the installation for open seams, lifted corners, and air bubbles. Smooth out minor imperfections and press the edges firmly into place. Small bubbles may settle within 24–48 hours, depending on the product, but larger air pockets should be addressed during installation.
Common Peel and Stick Wallpaper Mistakes
Avoid these common mistakes when installing removable wallpaper:
- Applying wallpaper to dusty, greasy, damp, or heavily textured walls.
- Installing it before the fresh paint has fully cured.
- Removing too much backing paper at once.
- Failing to establish a vertical guideline.
- Stretching the wallpaper while smoothing.
- Ignoring pattern repeats when cutting strips.
- Using products unsuitable for humid environments.
Wall preparation is one of the most important factors in successful peel and stick wallpaper installation. A clean, smooth, dry surface gives the adhesive the best opportunity to bond securely.
Frequently Asked Questions
Can you put peel and stick wallpaper on textured walls?
Peel and stick wallpaper generally works best on smooth, painted walls. Textured or uneven surfaces reduce adhesive contact, increasing the risk of bubbles and lifting edges. Check the manufacturer's recommendations before applying it to any textured surface.
How long should you wait after painting before hanging peel and stick wallpaper?
Wait until the paint has fully cured before installing wallpaper. Many manufacturers recommend approximately four weeks, although drying and curing times vary by paint type and environmental conditions. Always follow the paint and wallpaper manufacturers' instructions.
How do you remove air bubbles from peel and stick wallpaper?
Use a wallpaper smoother or plastic squeegee to push trapped air from the centre towards the nearest edge. For stubborn bubbles, gently lift the affected section if the product permits, then smooth it back into position. Avoid stretching the wallpaper while correcting imperfections.
Can peel and stick wallpaper be used in bathrooms?
It depends on the product, wall surface, and bathroom ventilation. Standard removable wallpaper may struggle in areas exposed to persistent humidity or direct water. Choose a product specifically approved for bathroom use and follow its installation requirements.
Is peel and stick wallpaper removable?
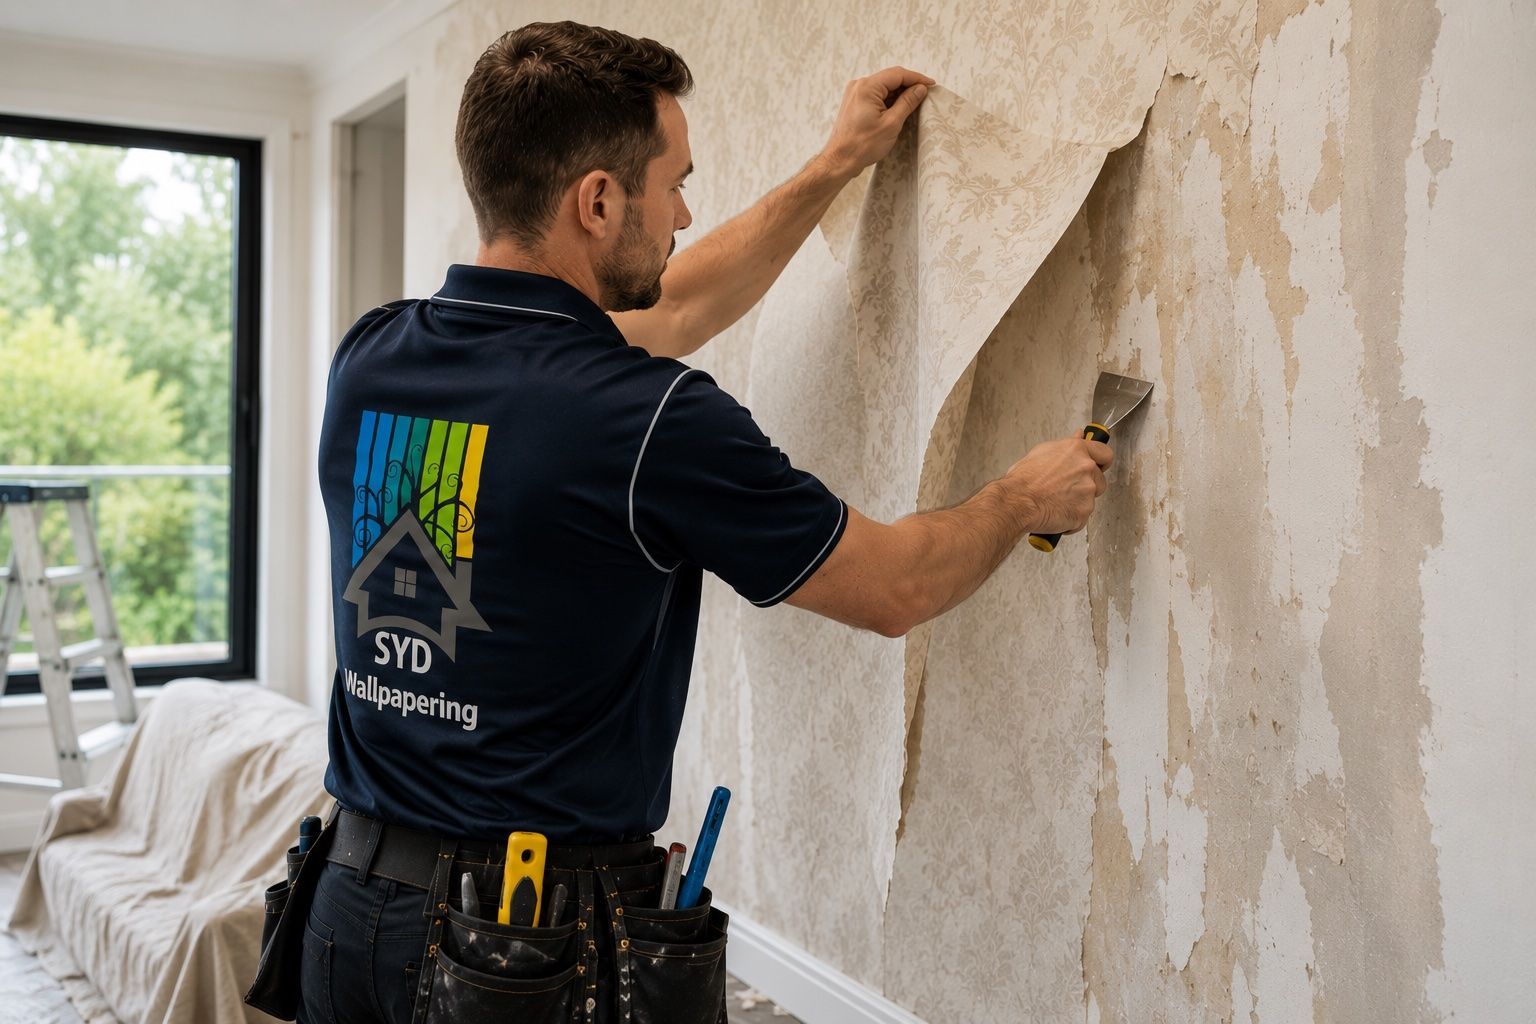
Yes, most peel and stick wallpaper is designed to be removable. However, removal may still damage paint or plaster, particularly if the wall was poorly prepared or the paint is weak. Test a small, inconspicuous area first and follow the manufacturer's removal instructions.
How do I choose peel and stick wallpaper for my Sydney home?
Consider the room's moisture levels, wall finish, lighting, and existing décor. Choose a design and product suitable for the intended surface, and calculate the amount of material needed for pattern matching and trimming. For complex layouts, professional advice can help prevent material waste.
When should I hire a professional wallpaper installer in Sydney?
Consider hiring a professional for large walls, murals, intricate patterns, high ceilings, damaged surfaces, or expensive wallpaper. Professional installation can help achieve accurate alignment and a consistent finish. Contact SYD Wallpapering to discuss your installation requirements.
Ready to transform your walls? Contact SYD Wallpapering to discuss professional wallpaper installation across Sydney, whether you are planning a feature wall, a complete room makeover, or a commercial project.
You might also like
SYD Wallpapering Blog