How to Repair Peeling Wallpaper Before It Gets Worse: A Sydney Guide
Peeling wallpaper can often begin as a minor issue, such as a loose edge, lifting corner, bubbling section, or separating seam. While these signs may seem easy to ignore, they can gradually worsen as the wallpaper continues to lose its bond with the wall. Moisture, poor installation, age, temperature changes, and inadequate wall preparation can all contribute to peeling wallpaper. Addressing the problem early can help prevent further separation and make the repair process more manageable.
This guide explains the common causes of peeling wallpaper, the warning signs that indicate your wallpaper may need attention, and the repair options available for different types of damage. It also looks at when a simple repair may be suitable and when more extensive wallpaper work may be required. SYD Wallpapering can assess the condition of your walls and wallpaper, identify the likely cause of the peeling, and recommend a suitable solution to restore the affected area.
Why Does Wallpaper Start Peeling?
Wallpaper can peel for several reasons, and identifying the cause is an important part of achieving a lasting repair. Simply pressing a loose section back onto the wall may not solve the problem if the underlying issue has not been addressed.
- Poor wall preparation is one common cause. Wallpaper needs a clean, smooth, and suitably prepared surface to form a strong bond. Dust, old adhesive, flaking paint, or an uneven wall can prevent the wallpaper adhesive from working properly.
- Incorrect or insufficient adhesive can also cause wallpaper to lose its bond. Different wallpaper materials require suitable adhesives and application methods. If the wrong product is used or insufficient adhesive is applied, sections may gradually begin to lift.
- Ageing adhesive is another possible cause. Over time, wallpaper adhesive can deteriorate, particularly in older installations. This can cause edges, corners and seams to loosen even when the wallpaper itself remains in reasonable condition.
- Moisture and humidity can also contribute to peeling. Rooms exposed to high humidity, condensation, or water leaks can place additional stress on wallpaper and its adhesive. If moisture is the cause, the underlying problem should be addressed before repairing the wallpaper.
7 Signs Your Wallpaper Is Starting to Peel
1. Edges Beginning to Lift
One of the easiest signs to notice is an edge that has started pulling away from the wall. You may see a small section of wallpaper standing slightly away from the surface, particularly around corners, doors, or other edges. Although the affected section may initially be small, the loose area can gradually become larger. Addressing the problem early can make the repair more manageable and help prevent further separation.
2. Wallpaper Seams Opening
Wallpaper seams are another area where peeling can begin. If the edges of two wallpaper panels start separating, a visible line or gap may appear between them. Open seams can become increasingly noticeable as more of the wallpaper loses adhesion. Repairing the seam early may help prevent the surrounding sections from becoming loose as well.
3. Loose Corners
Corners can be particularly vulnerable because wallpaper edges are exposed to regular contact and movement. A corner that has started lifting may initially look like a minor cosmetic issue. However, repeatedly touching, cleaning, or catching the loose section can cause it to peel further. Professional wallpaper repair can help secure the affected area without unnecessarily disturbing the surrounding wallpaper.
4. Bubbles Appearing Under the Wallpaper
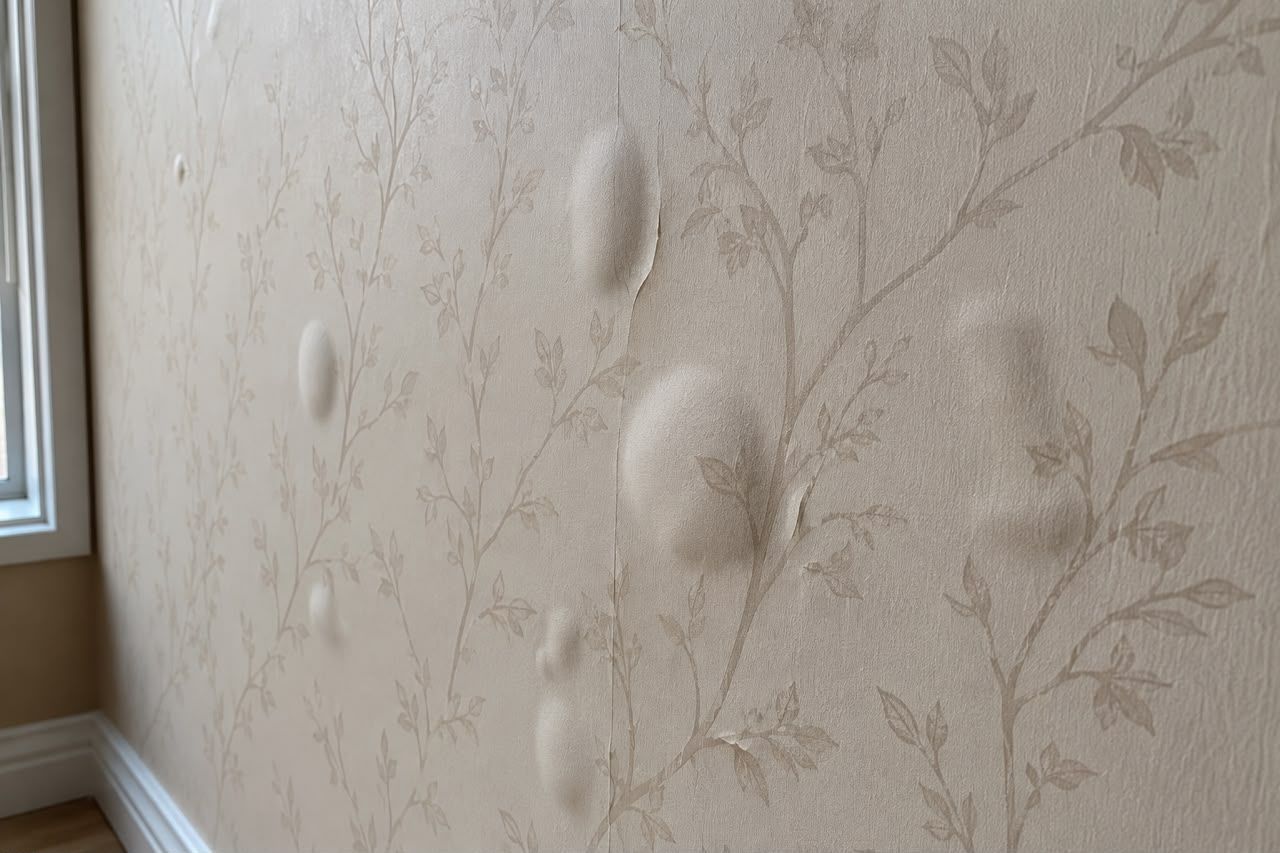
Bubbles or raised areas underneath wallpaper can indicate an adhesion problem. They may occur because the wallpaper was not properly bonded to the wall or because moisture has affected the adhesive. Small bubbles should not automatically be ignored, especially if they are appearing alongside peeling or separating seams. The cause should be identified before attempting to repair the affected area.
5. Sections Pulling Away From the Wall
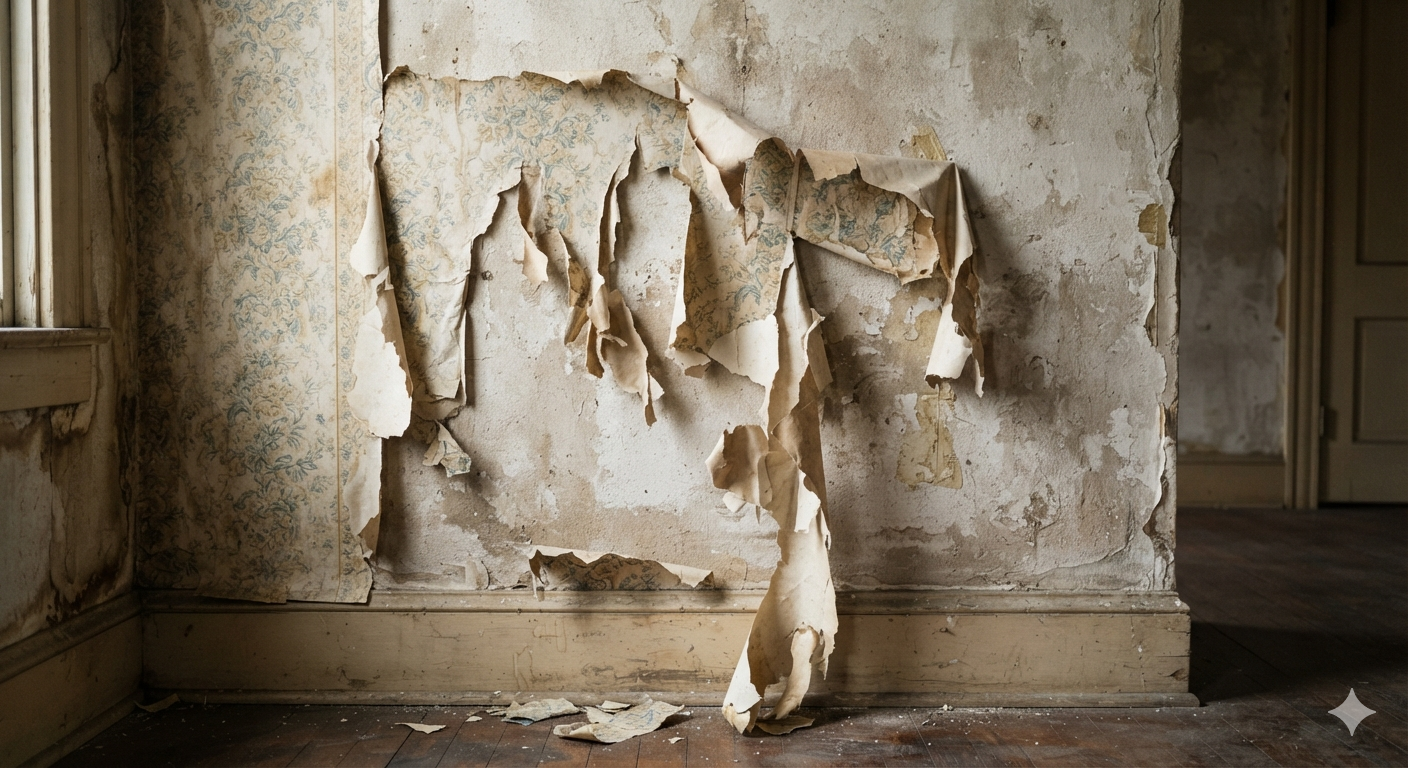
When a noticeable section of wallpaper is separating from the wall, the problem has progressed beyond a minor loose edge. The larger the affected area, the more important it becomes to assess the condition of both the wallpaper and the wall beneath it. Trying to force a large loose section back into place may damage the wallpaper or create further wrinkles. A suitable repair method should take the condition and type of wallpaper into account.
6. Wrinkles or Raised Sections
Wallpaper that develops unexpected wrinkles, ripples, or raised sections may no longer be sitting correctly against the wall. These changes can become more obvious as the adhesive bond weakens. If the wallpaper is also beginning to peel at the edges or seams, the raised areas may be part of a wider adhesion problem. Early assessment can help determine whether the affected section can be repaired.
7. Gaps Appearing Between Wallpaper Panels
Visible gaps between wallpaper panels can indicate that the wallpaper edges are beginning to separate. Small gaps can become more noticeable over time and may affect the overall appearance of the wall. Rather than repeatedly pressing the panels together, it is better to determine why the separation is occurring. Proper wallpaper repair can address the affected area while helping preserve the surrounding installation.
Step-by-Step Guide: How to Repair Peeling Wallpaper
Repairing peeling wallpaper requires a careful, methodical approach to ensure the issue is fixed properly and does not return. The exact process may vary depending on the wallpaper type and the extent of the damage, but the following steps outline a reliable method.
Step 1: Inspect the damaged area
Begin by closely examining the peeling section. Check how far the wallpaper has lifted, whether seams are affected, and if there are any bubbles, stains, or signs of moisture behind the wallpaper. This helps determine whether the issue is localised or part of a larger problem. The inspection also helps you understand whether the wallpaper is simply lifting or if the wall underneath may be contributing to the issue. This step is important because it guides the entire repair process.
Step 2: Identify and address the cause
Before making any repairs, consider what caused the peeling. If there is moisture, a leak, or dampness in the wall, this must be resolved first. Repairing wallpaper without fixing the underlying issue will likely result in the problem returning. This step is essential because wallpaper is only as stable as the surface behind it. If the wall is compromised, even a perfect repair will not last.
Step 3: Gently lift the loose wallpaper
Carefully lift the peeling section just enough to access the wall behind it. Take care not to tear or overstretch the wallpaper, as this can make the repair more difficult or visible once completed. Work slowly and avoid pulling at sharp angles, as this can damage the wallpaper backing. The goal is to expose only what is necessary for repair. If resistance is felt, stop and reassess rather than forcing the material. It helps preserve the integrity of the surrounding wallpaper.
.
Step 4: Clean and prepare the wall surface
Remove any dust, old adhesive, or debris from the exposed wall area. A clean surface is essential for proper adhesion. If the wall is uneven or flaking, it may need light preparation before continuing. A properly prepared surface allows the adhesive to bond evenly and securely. Without this step, the wallpaper may lift again in the same area. Even small amounts of dust can weaken adhesion, so careful cleaning is important for a lasting result.
Step 5: Apply suitable wallpaper adhesive
Using an appropriate wallpaper adhesive, apply a thin, even layer to the wall or the back of the wallpaper (depending on the material). Avoid over-applying, as excess adhesive can cause bubbling or seep through seams. The adhesive should be spread evenly to ensure consistent contact across the repaired area. Uneven application can lead to weak spots. Using the correct adhesive type is also important, as different wallpapers require different bonding products.
Step 6: Reposition and align the wallpaper
Carefully press the wallpaper back into place, ensuring it aligns correctly with surrounding panels or patterns. Take your time to avoid misalignment, as this can affect the overall finish. Proper alignment ensures the repair blends seamlessly with the rest of the wall. Even small shifts can become noticeable once the wallpaper dries. This step is especially important for patterned wallpaper, where matching lines or designs is critical.
Step 7: Smooth out air bubbles and wrinkles
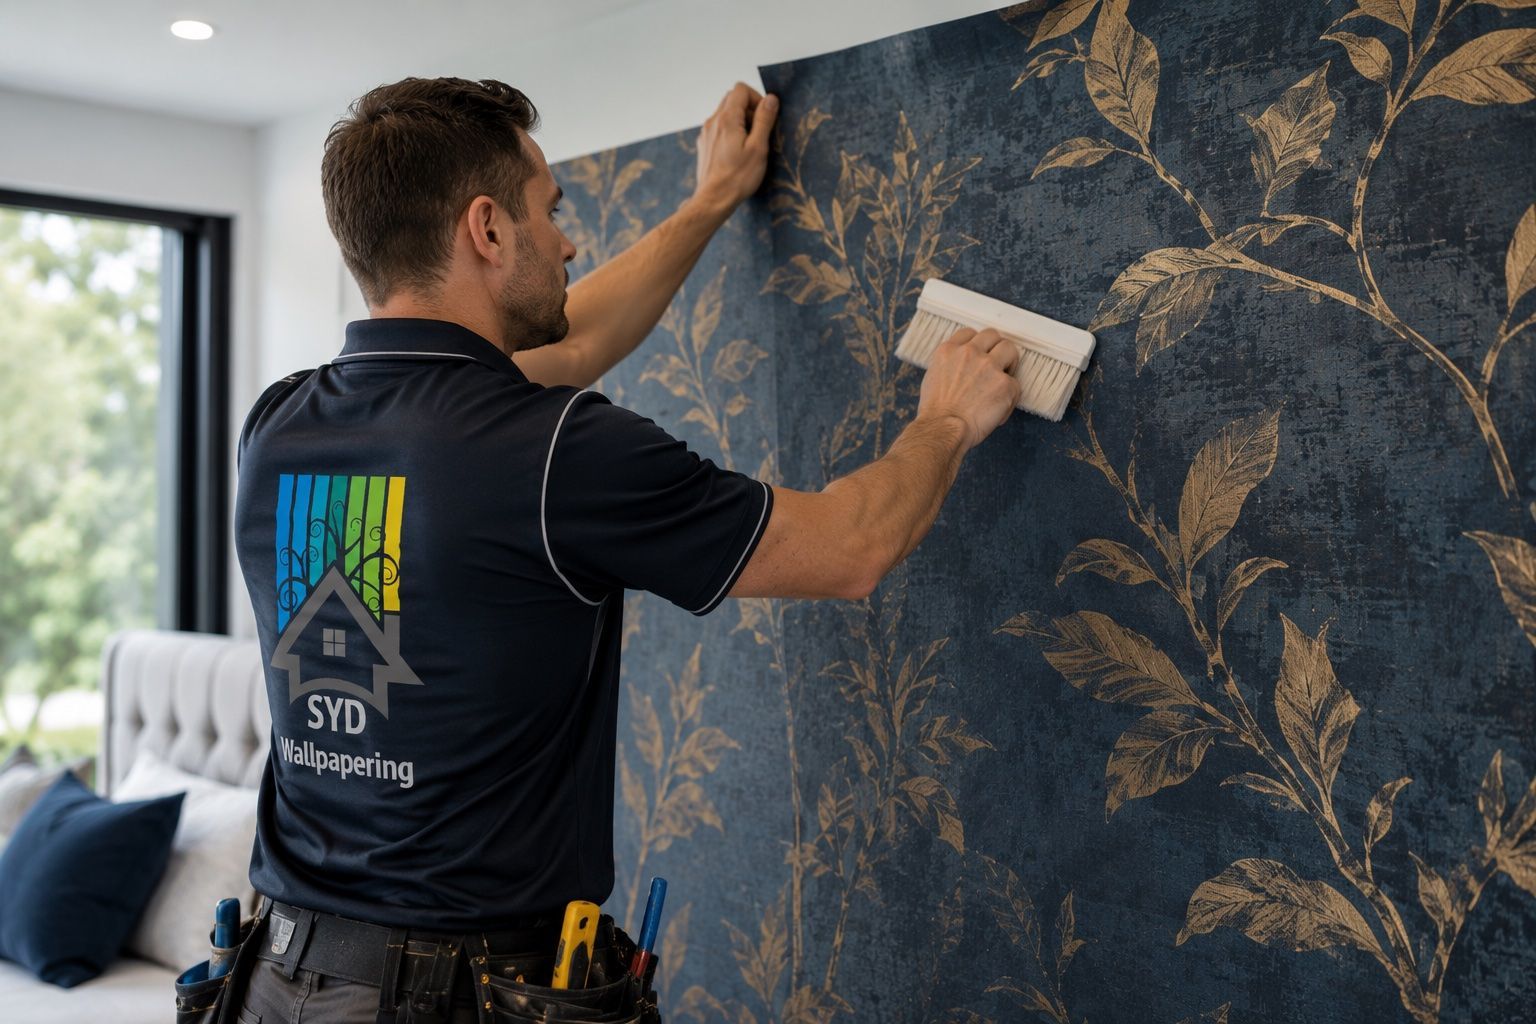
Use a wallpaper smoothing tool or clean cloth to gently press the wallpaper flat. Work from the centre outward to remove trapped air and ensure a strong bond with the wall. This technique helps push air pockets toward the edges where they can escape. It also improves adhesion across the entire repaired section. Take care not to press too hard, as excessive force can damage delicate wallpaper surfaces.
Step 8: Remove excess adhesive
Wipe away any excess adhesive immediately using a damp cloth. Be careful not to saturate the wallpaper, especially if it is delicate or textured. Removing excess adhesive prevents staining and ensures a clean finish. It also helps avoid visible residue once the wallpaper dries. Work gently to avoid disturbing the newly positioned wallpaper.
Step 9: Allow proper drying time
Leave the repaired area undisturbed while it dries. Avoid touching, cleaning, or placing pressure on the section until the adhesive has fully set. Drying time is essential for the adhesive to form a strong bond with the wall. Disturbing the area too early can weaken the repair.It is best to keep the room stable in temperature and humidity during this stage.
Step 10: Recheck the repair
Once dry, inspect the area again to ensure it is fully secured. If edges continue to lift or bubbles reappear, further assessment may be required. A final check ensures the repair has been successful and identifies any remaining issues early. This helps prevent future peeling in the same area. If problems persist, it may indicate a deeper issue with the wall or installation.
How SYD Wallpapering Can Help Repair Peeling Wallpaper
1. Assessing the Peeling Wallpaper: Peeling wallpaper can affect both the appearance and condition of a room, particularly when a small damaged section is allowed to spread. SYD Wallpapering can assess the affected area and determine the most appropriate way to address the problem.
2. Identifying the Extent of the Damage: The extent of the peeling, the location of the damage, and the condition of the surrounding wallpaper can all influence the appropriate repair approach. Understanding these factors helps determine whether the affected section can be repaired effectively.
3. Repairing Loose and Damaged Wallpaper: SYD Wallpapering can assist with problems such as loose wallpaper edges, peeling sections, separating seams, and damaged areas. Where the existing wallpaper can be restored, appropriate repair work can help secure the affected section and improve the appearance of the wall.
4. Checking the Underlying Wall: A professional assessment can help determine whether the issue is limited to the wallpaper or whether there may be a problem with the surface underneath. This is particularly important where peeling is associated with moisture, poor adhesion, or recurring wallpaper problems.
5. Addressing Peeling Before It Spreads: Getting the problem addressed early can make a significant difference. A small area of peeling may be easier to repair than a larger section that has continued to separate over time.
Get Professional Wallpaper Repair in Sydney
If your wallpaper is beginning to peel, do not wait until the affected area becomes significantly larger. Contact SYD Wallpapering to discuss your wallpaper repair needs and find out how the damaged area can be restored.
Frequently Asked Questions
1. Can peeling wallpaper be repaired?
Yes, peeling wallpaper can often be repaired when the material is still in good condition, and the damage is limited. In many cases, the lifted section can be re-adhered using the correct adhesive and careful application. However, the success of the repair depends on identifying the cause of the peeling first. If the underlying issue is not fixed, the wallpaper may continue to lift again over time.
2. What causes wallpaper to peel from the wall?
Wallpaper can peel due to several factors, including poor wall preparation, incorrect adhesive, moisture, or natural ageing of the glue. Environmental conditions like humidity and temperature changes can also weaken the bond over time. In some cases, installation errors may cause early lifting at seams or edges. Understanding the cause is essential before attempting any repair.
3. Can I fix peeling wallpaper myself?
Small areas of peeling wallpaper can sometimes be repaired at home using adhesive and careful smoothing techniques. However, the result depends on the wallpaper type and how far the damage has spread. If the wallpaper is delicate, patterned, or extensively lifted, DIY repairs may become noticeable. In these cases, professional repair can help achieve a cleaner and longer-lasting finish.
4. How do you repair wallpaper that is lifting at the edges?
Edge lifting is repaired by gently lifting the loose section and cleaning the wall surface underneath. Fresh wallpaper adhesive is then applied before the wallpaper is carefully pressed back into place. The area is smoothed to remove air bubbles and ensure proper bonding. Once dry, the edge should sit flush with the wall if the repair is successful.
5. Why does wallpaper keep peeling after being repaired?
Wallpaper may continue peeling if the original cause of the problem has not been addressed. Issues such as moisture, poor adhesion, or wall surface defects can prevent a lasting repair. Even if the wallpaper is reattached, underlying conditions can weaken the bond again. A proper assessment is needed to prevent repeated failure in the same area.
6. How much does wallpaper repair cost in Sydney?
Wallpaper repair costs in Sydney vary depending on the size of the damaged area, wallpaper type, and complexity of the work. Simple edge repairs are generally more affordable than large-scale section repairs or pattern matching. Access and wall condition can also influence pricing. A professional inspection is the best way to determine an accurate cost.
7. Should I repair or replace peeling wallpaper?
Repair is usually suitable when the wallpaper is in good condition, and the damage is limited to small areas. If peeling is widespread, or the wallpaper is old and deteriorating, replacement may be more practical. The decision depends on both the extent of the damage and the overall condition of the installation. A professional can help assess the best option.
8. Can water-damaged wallpaper be repaired?
Water-damaged wallpaper can sometimes be repaired, but it depends on how severe the damage is. If moisture has only affected a small section, it may be possible to dry and reattach it. However, if the wallpaper has bubbled, stained, or weakened significantly, replacement is often required. The source of the water must also be fixed before any repair is attempted.
9. How long does wallpaper repair take?
The time required for wallpaper repair depends on the size and complexity of the damage. Small edge repairs may take only a short time, while larger sections or pattern-matching work can take longer. Drying time is also an important factor in the overall process. In most cases, repairs are completed within a single visit unless extensive work is needed.
You might also like
SYD Wallpapering Blog